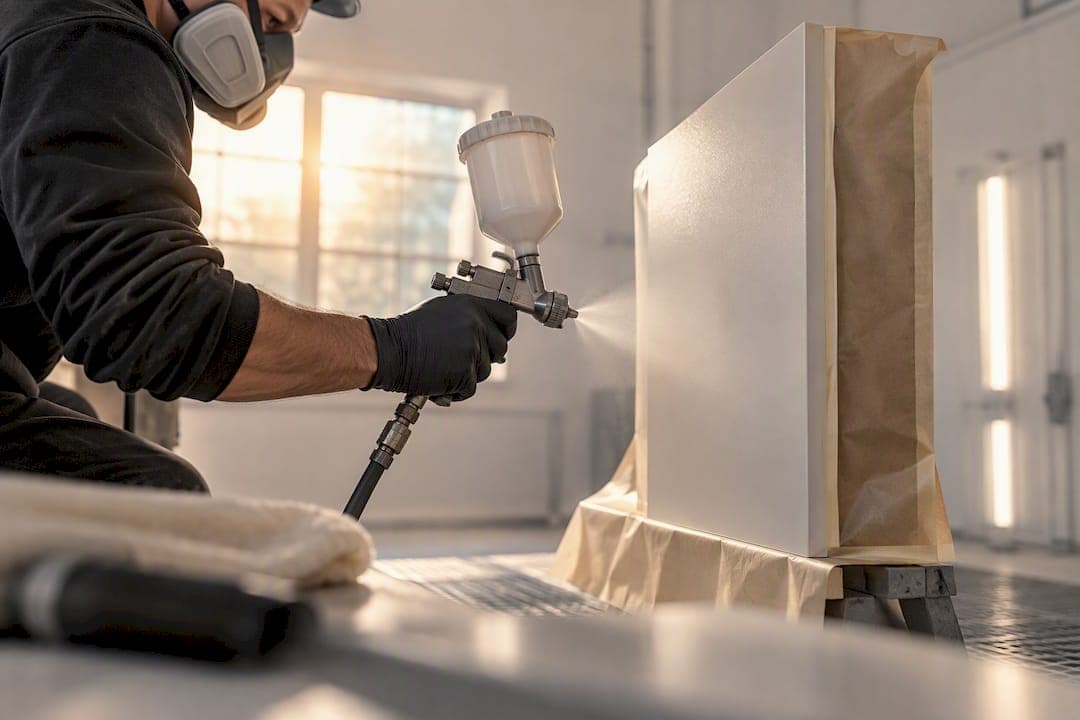
A professional respray usually refreshes kitchen end panels faster and for a fraction of the cost of full replacement, provided the boards underneath are still sound. Where panels have swollen, delaminated or rotted, that's a different conversation. Read on for what the job should cover, how long it takes, what drives the price, and how to pick a contractor who won't let you down.
TL;DR:
- Respraying kitchen end panels typically costs less and takes less time than full replacements, especially when the substrate is still sound.
- The process involves thorough site prep, masking, priming, and spraying with professional equipment, usually completed within a few days for standard jobs.
- Longevity relies heavily on proper preparation and the use of high-quality water-based or two-part lacquers, with warranties covering both materials and workmanship.
- Replacement becomes necessary only when panels are swollen, delaminated, rotted, or structurally weak, not for cosmetic tiredness alone.
- Choose a specialist refinisher focused exclusively on kitchen surfaces to ensure consistent, factory-like finishes, backed by a solid portfolio and clear fixed quotes.
Table of Contents
- What does a kitchen end panels respray actually cover?
- How does the professional respray process work?
- How long does a kitchen respray take, and what affects the price?
- What makes a sprayed finish durable, and what does the warranty actually cover?
- When should you replace instead of respray?
- Why choose a specialist refinisher over a general decorator?
- What should you ask a respray contractor before hiring them?
- What should before-and-after photos actually show you?
- Why targeted end-panel resprays often make more sense than a full replacement
- Ready to see what a respray would cost for your kitchen?
- Sources
- FAQ
What does a kitchen end panels respray actually cover?
A proper respray job goes beyond the visible end panel facing your hallway. Most specialists quote for the full run of exposed cabinetry surfaces, not just the obvious bits, so it pays to know what should be included before comparing prices.
- Exposed end panels (island sides, run ends, fridge housings)
- Plinths and kickboards at floor level
- Cornices and pelmets above wall units
- Fixed panels that can't be unscrewed, alongside removable doors and drawer fronts
Substrates accepted normally include laminate, vinyl wrap, MDF, timber and UPVC. Foil wraps that are already peeling or genuine solid oak with heavy grain can behave differently under primer, so a competent quote will flag those exceptions rather than gloss over them. Colour matching is usually offered against RAL and BS references, or a custom mix pulled from an existing sample, in matt, satin, eggshell or gloss.
How does the professional respray process work?
Every reputable job starts with a site survey and an itemised written quote, not a verbal guess over the phone. From there, the sequence is fairly consistent across the trade:
- Degrease every surface to strip cooking residue and silicone contamination.
- Sand or deglossy the existing finish so the new coating has something to grip.
- Fill chips, dents and screw holes, then seal raw edges against moisture.
- Mask adjacent worktops, flooring, tiling and appliances thoroughly for on-site spraying.
- Apply an adhesion primer matched to the substrate (laminate and UPVC need different primers to bare timber).
- Spray two topcoats using HVLP equipment for an even, factory-style finish, then allow proper curing time before rehanging.
Removable doors and drawer fronts are typically taken off and sprayed in a controlled workshop environment, which gives the most consistent finish. Fixed end panels, plinths and cornices get masked and sprayed in situ, since they can't travel. This hybrid workflow is standard across UK respray specialists, combining workshop quality with on-site convenience.
Pro Tip: Ask whether primer choice changes for laminate versus timber panels. A contractor who can explain this without hesitating usually understands the substrate, not just the spray gun.
How long does a kitchen respray take, and what affects the price?
A small job covering just the exposed end panels and plinths in one kitchen can often be finished on-site in a day or two. Add workshop-sprayed doors into the mix and you're looking at several extra days for collection, spraying, curing and refit, with many full projects wrapping inside a working week.
Price swings on a handful of variables:
- Number of panels and their size, including whether islands or run ends are involved
- Extent of repair work needed before spraying (fills, edge sealing, delamination fixes)
- Finish level chosen (a bespoke colour match costs more than a stock RAL shade)
- Travel distance and regional demand
- Whether doors are removed for workshop spraying on top of the on-site panel work
A fair written quote should state whether the price is per panel or for the whole project, list materials and prep work included, and confirm it's fixed rather than an estimate that can drift upward once work starts.
What makes a sprayed finish durable, and what does the warranty actually cover?
Longevity comes down to preparation, not the topcoat brand on the tin. Skip the degreasing or sanding stage and even the best lacquer will peel within months, regardless of what it says on the label.
The systems that hold up: Water-based Italian coatings and two-part lacquers dominate the professional respray market because they cure hard and resist knocks better than standard trade paint, with correct primer and adhesion prep being the deciding factor in how long a finish lasts.
When you're reading a warranty, check three things: the actual duration stated, whether it covers materials failure or workmanship (or both), and whether it transfers if you sell the property. The company backs its work with a warranty covering the sprayed finish, which is worth using as a benchmark when comparing other quotes. Exclusions matter too. Impact damage or improper cleaning products voiding cover is normal and reasonable; vague wording that lets a contractor wriggle out of any claim is not.

When should you replace instead of respray?
Respray works brilliantly on sound carcasses, but it isn't a fix for structural failure. Some conditions mean replacement is the sensible call, however tempting the lower price of a respray looks on paper.
- Severe swelling or delamination where the board has physically distorted, not just discoloured
- Rot, water damage or structural weakness in the panel or its fixings
- Old wax or oil-treated timber that resists modern primers without extensive stripping first
- Panels where previous DIY paint jobs have failed and built up layers that won't key properly
The decision criteria that matter aren't really about price points. They're about whether the substrate underneath is still doing its job. A panel that's cosmetically tired but flat, dry and firmly fixed is an excellent respray candidate. One that flexes, bows or smells damp needs a joiner before it needs a spray gun.
Why choose a specialist refinisher over a general decorator?
Kitchen respraying is a narrow trade, and it shows in the results. A decorator who mostly paints walls and occasionally tackles cabinets doesn't have the same feel for adhesion primers, spray patterns and curing times as someone who does this every week.
This specialist focuses solely on UPVC and kitchen surface respraying, using hand-spray techniques designed to meet factory-standard finishes, typically backed by a multi-year warranty on completed jobs.
A specialist that only does two things tends to do both of them properly. Ask any contractor how many kitchens they've actually resprayed this year, not how many kitchens they've painted with a brush in a pinch.
To verify these claims during a quote, ask to see a portfolio of completed jobs, request the warranty in writing before any deposit changes hands, and look for genuine before-and-after photography rather than stock imagery. A company using its own staff throughout, with no subcontractors passed between quote and finish, tends to deliver more consistent results.
What should you ask a respray contractor before hiring them?
A few sharp questions at the quote stage save a lot of grief later. Run through these before signing anything.
- What primer and topcoat system will you use on my specific substrate?
- Will doors be sprayed in a workshop or on-site, and does that change the price?
- What exactly does the warranty cover, and for how long?
- Can I see photos of a job similar to mine, ideally with close-ups of edges and seams?
- Is this a fixed price, and what happens if extra repair work is discovered once you start?
Red flags are just as telling as good answers. Walk away from anyone quoting a full project price without visiting the site, promising a same-day turnaround for a whole kitchen, or unable to produce a single reference or photo on request. A complete written quote should itemise the scope panel by panel, list the materials and finish type, state lead times for both workshop and on-site stages, and spell out whether the price is fixed or variable.
What should before-and-after photos actually show you?
Genuine before-and-afters reveal more in the details than the headline colour change. Look closely at edge finishing where the panel meets a worktop or wall, check that seams between joined sections are smooth rather than cracked, and confirm gloss levels match consistently across every panel in the shot, since mitred joints or spraying assembled elements are what stops seams showing at all.
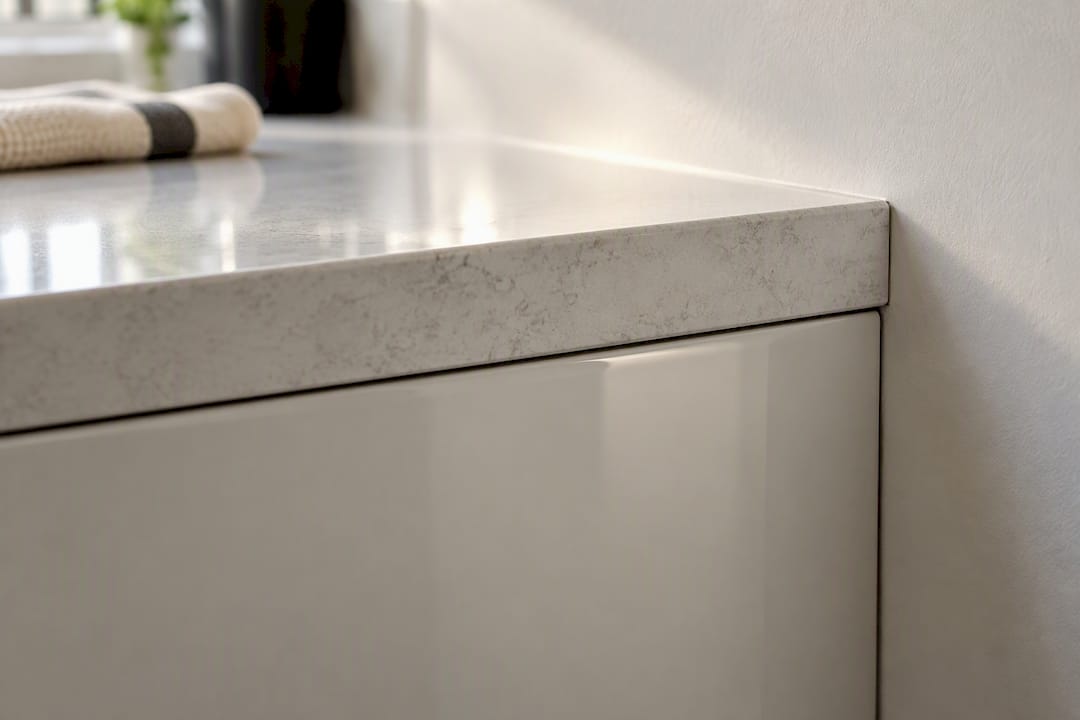
Colour matching should be demonstrated with a sprayed test chip or a small sample door in your chosen shade, not just a paint swatch held against the cabinet. [Portfolio image placeholder: before/after of a resprayed kitchen island end panel, caption noting colour and finish type used.]
Why targeted end-panel resprays often make more sense than a full replacement
Respray specialists recommend this route so often for one reason: when the carcass is sound, you're paying to change how a kitchen looks, not to solve a structural problem. Replacement solves that same cosmetic issue at several times the cost and with weeks of disruption instead of days.
The trade-off worth weighing honestly is longevity against convenience. A well-prepped, correctly primed respray will comfortably outlast a poor DIY paint job, but it won't outlive genuine board failure underneath it. Get a site visit and a written fixed quote before deciding either way. It costs nothing and tells you exactly which category your kitchen falls into.
— Mitchell
Ready to see what a respray would cost for your kitchen?
Refinishingstudio is the alternative to a full kitchen replacement for homeowners across South Wales who want their existing cabinetry looking new again without the expense and mess of ripping it all out. Every job runs on the same hand-spray technique, whether that's end panels and cupboard doors or a full handleless conversion, carried out by the same team from quote through to final coat with no subcontractors passed between stages.

A site visit gets you a genuine look at your panels, an honest read on whether they're respray candidates, and a written fixed price covering materials, prep and the finish you choose, all backed by a five-year warranty. Get in touch for a kitchen respraying quote and find out what your kitchen would look like without the upheaval of a full refit.
FAQ
How much does it cost to have a kitchen resprayed?
Prices depend on panel count, repair work, finish level and whether doors need workshop spraying alongside on-site panels, so there's no single flat figure that applies to every kitchen. Current pricing is available through a kitchen respraying quote once a contractor has seen the actual panels involved.
Is a kitchen respray worth it?
Yes, when the boards underneath are structurally sound. A respray refreshes the look for a fraction of a full replacement's cost, often saving well over half compared with a new kitchen, though panels showing swelling or rot are better replaced than resprayed.
How can I restore the finish on tired kitchen cabinets?
Professional restoration involves degreasing, sanding to key the surface, filling any chips, then applying an adhesion primer and two HVLP topcoats matched to your substrate. Attempting this with a standard brush and trade paint rarely gives a durable, even result compared with spray application.
How do you seal kitchen end panels properly?
Raw or exposed edges get sealed before priming to stop moisture getting into the board, which is a standard step in any competent respray process. Skipping this is one of the most common causes of early finish failure at panel edges and joins.