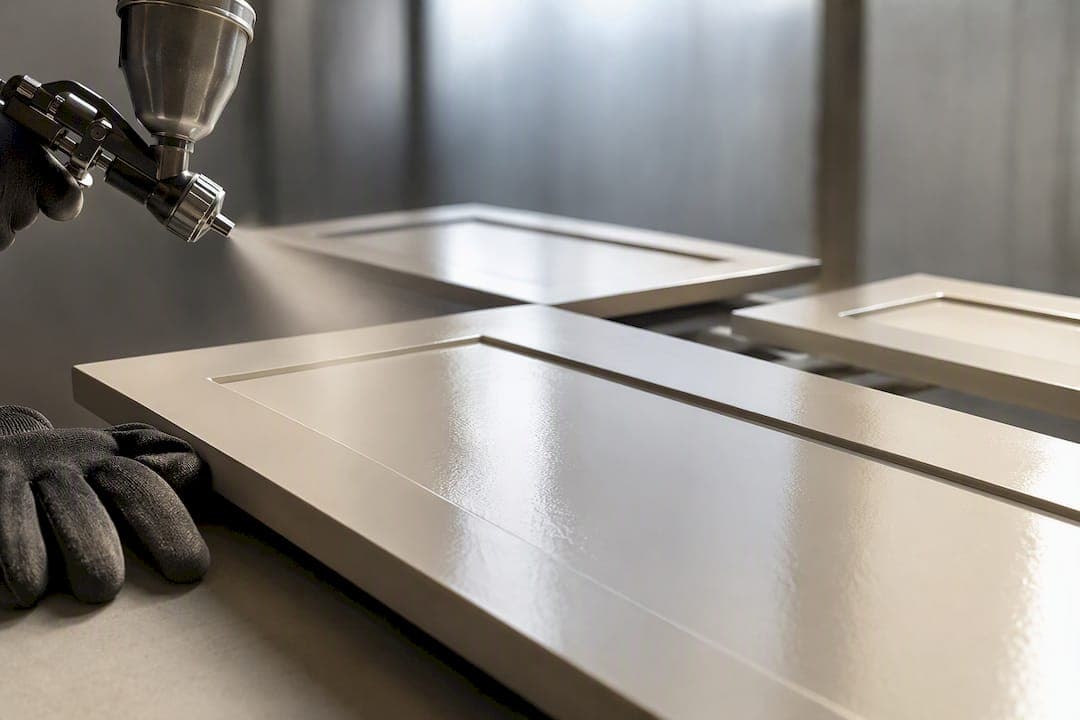
Yes, most gloss kitchens can be professionally resprayed, and it usually costs far less than a full replacement. The outcome depends entirely on your cabinet substrate and the standard of preparation used. Solid wood, MDF, and lacquered doors respray well. Vinyl-wrapped or thermofoil doors with lifting edges often don't, and that's precisely where a five-year warranty and proper priming earn their keep.
TL;DR:
- Proper surface preparation, including sanding and priming, is crucial for the longevity of a gloss kitchen respray, especially on MDF, laminate, or acrylic doors.
- Vinyl-wrapped and thermofoil doors with lifting or delaminating edges rarely succeed in lasting paint jobs and are better replaced rather than resprayed.
- Costs for professional resprays typically range from £800 to £1,600 for simple kitchens, with complexity and size raising prices significantly; timelines usually span two to five days.
- Choosing a qualified professional involves verifying primer systems, application methods, warranties, and checking portfolios, avoiding quotes significantly below market averages.
- The key to a durable finish lies in the process, especially thorough sanding and proper curing, rather than paint brand or color, and a good tradesperson will prioritize these steps over the lowest price.
Table of Contents
- What counts as a gloss kitchen respray, and which surfaces qualify?
- Why does gloss resist paint, and what actually causes DIY jobs to fail?
- What does a professional respray process actually involve?
- Matt, satin, or gloss: which finish actually suits your kitchen?
- How much does a kitchen respray cost, and how long does it take?
- When is respray the wrong call, and replacement the smarter one?
- How do you choose a respray professional, and what questions should you ask?
- How does Refinishing Studio meet these standards in practice?
- What's the honest verdict on gloss kitchen respray?
- Getting a quote for your kitchen respray
- Sources
- FAQ
What counts as a gloss kitchen respray, and which surfaces qualify?
A gloss kitchen respray is the process of stripping back, priming, and reapplying a durable topcoat directly onto existing cabinet doors, drawer fronts, and end panels, rather than removing and replacing the units entirely. It's a substrate question before it's anything else. Some materials take a new coat of paint beautifully. Others fight it every step of the way, and knowing which camp your kitchen falls into will save you a wasted quote.
Solid wood is the easiest customer. It sands well, holds primer, and has been the standard surface for cabinet painting for decades.
MDF behaves almost as well, provided the edges haven't swollen from old water exposure. Painted or lacquered MDF doors are common in mid-range kitchens fitted since the 2000s, and they respray reliably when the existing coating is sound.
Melamine and laminate doors need more attention because the factory finish is designed specifically to resist adhesion. With scuff sanding and the right bonding primer, they take a respray well, and this is one of the more frequent jobs professional sprayers handle.
Acrylic gloss doors, the high-shine slab type common in modern kitchens, are entirely resprayable but demand a proper mechanical key and industrial primer, since the surface is engineered to be as non-porous as possible.
Vinyl-wrapped and thermofoil doors are the ones to check carefully:
- Run a fingernail along every door edge and corner, feeling for lifting, bubbling, or a soft, slightly spongy texture.
- Check under the sink and around the dishwasher for swelling caused by long-term moisture.
- Look at seams where the wrap folds around the door edge. If it's already peeling there, painting over it won't hold.
Kitchen Makeovers' guidance is blunt about this: once a vinyl wrap starts delaminating, painting over it rarely produces a lasting result, and replacement is usually the more sensible route.
Why does gloss resist paint, and what actually causes DIY jobs to fail?
Gloss finishes are designed to be smooth, sealed, and non-porous, which is exactly what makes them hard to paint over. A factory gloss coat has almost no texture for a new layer to grip onto. Paint doesn't bond to gloss through chemistry alone; it bonds through mechanical keying, meaning thousands of microscopic scratches created by sanding, combined with a primer formulated to bridge the gap between old finish and new topcoat.
Skip either step and the result looks fine for a few weeks, then starts chipping at door edges and handle points within months. Screwfix's own guidance for tradespeople is direct on this point: lack of sanding and the wrong primer are the most common reasons painted gloss fails. Degreasing matters just as much. Kitchen cabinets accumulate a thin film of cooking oil and hand grease that's often invisible, but it sits between the primer and the surface like a release agent, stopping proper adhesion before the job has even started.
Ideal Home's practical checklist backs this up, recommending a sugar soap clean, a deliberate sanding pass to create "tooth," a high-adhesion primer, and several thin coats rather than one thick one, since thin coats cure harder and level better than a single heavy application. The gap between a job that lasts five years and one that fails in five months usually comes down to these three steps, not the brand of paint used.
What does a professional respray process actually involve?
A reputable tradesperson doesn't start with a paintbrush. They start with a survey, and the sequence from there follows a fairly consistent pattern across the trade.
- Survey and substrate test. A pro identifies the door material, checks for damage, and decides whether doors need removing or can be sprayed in situ. Islands and handleless runs sometimes stay in place; most doors and drawer fronts come off.
- Cleaning and degreasing. Every surface gets stripped of cooking residue and grime with a proper degreaser, not just a wipe with washing-up liquid.
- Scuff sanding and repair. Doors are sanded to create a mechanical key, and any chips, dents, or worn edges get filled and levelled before anything else happens.
- Priming. A bonding primer goes on for melamine, laminate, or acrylic surfaces. Some professionals use shellac-based primers where staining or tannin bleed is a risk, particularly on older wood.
- Spray application. Most professional jobs use HVLP spray equipment rather than a roller, applying multiple thin coats with proper flash time between each one.
- Curing. The topcoat needs time to harden fully, not just dry to the touch, before doors go back into daily use.
- Reassembly and quality check. Hinges, handles, and soft-close mechanisms go back on, and doors get checked for even coverage and colour match.
Pro Tip: Ask your tradesperson whether they do a tape adhesion test after priming. Pressing a strip of masking tape onto a primed sample and peeling it back is a two-minute check that catches a weak bond before the topcoat goes on, and it's standard practice among careful professionals, per Screwfix's trade guidance.
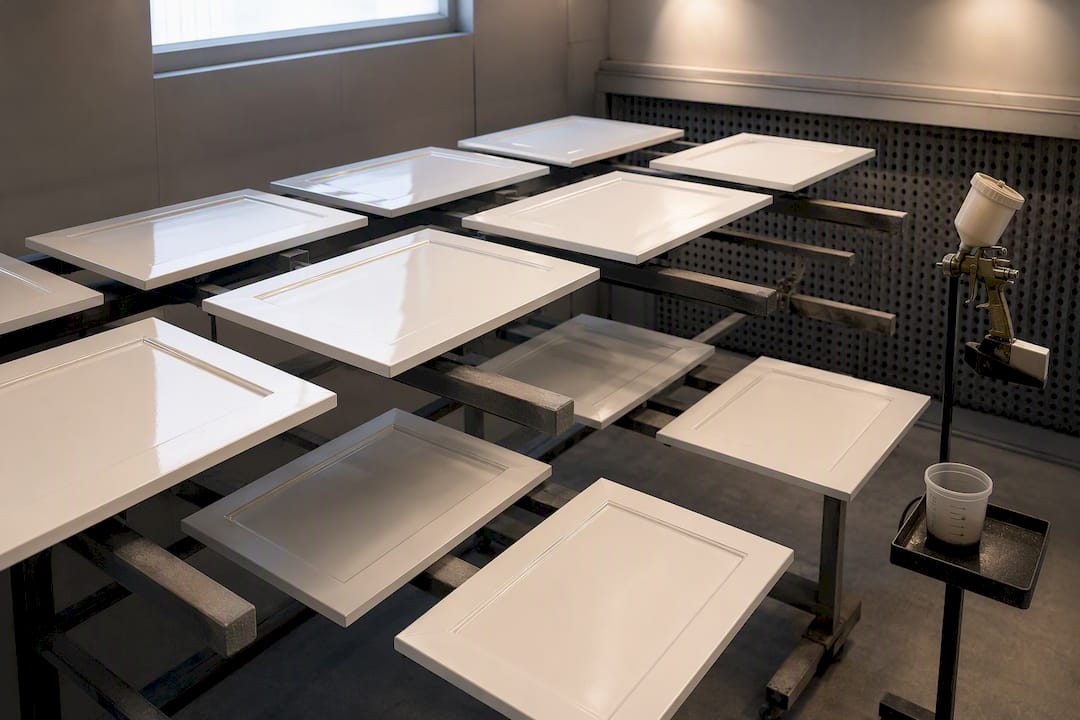
The removal-versus-in-situ decision matters more than most homeowners realise. Spraying doors offsite in a controlled, dust-free environment produces a noticeably more even, factory-like finish than spraying in a live kitchen, because dust contamination and inconsistent temperature are the two biggest enemies of a hard cure. Homebuilding's advice on gloss cabinet painting makes the same point: professional-standard results generally need space and equipment a domestic kitchen doesn't have. If you want to see how this translates on melamine specifically, Refinishing Studio's guide to spraying melamine cabinets walks through the surface prep in more detail.
Matt, satin, or gloss: which finish actually suits your kitchen?
Sheen level changes more than the look. It changes how forgiving the surface is day to day, and that's worth thinking through before you commit to a colour.
- Matt hides fingerprints, light scuffs, and dust remarkably well, which makes it the practical choice for busy households with children or pets, though it can show grease marks near hobs if not wiped promptly.
- Satin sits in the middle: enough sheen to look crisp without highlighting every mark, and it's become a popular default for handleless kitchens where hands touch the door edges constantly.
- Gloss delivers the deepest, most reflective colour and makes small kitchens feel larger through light bounce, but every fingerprint, water splash, and dust mote shows on it, especially in dark colours.
Sheen also affects how a colour actually reads on the wall. A deep forest green or navy looks noticeably richer in gloss than in matt, because the reflective surface intensifies colour depth, while the same shade in matt reads flatter and more muted. If you're weighing up colour options as part of a wider kitchen refresh, Homable's guide to affordable UK interior updates has useful context on how sheen and colour interact across a room, not just on cabinet doors. For a look at the full range of finish options available on a respray, Refinishing Studio's finishes page sets out the practical trade offs between matt, satin, eggshell, and gloss.
How much does a kitchen respray cost, and how long does it take?
Cost depends far more on prep and logistics than on the paint itself. For a straightforward kitchen with sound doors and no structural repairs, professional sprayed jobs in the UK commonly fall between roughly £800 and £1,600, according to Homebuilding's cost guidance on painting gloss kitchens. Larger, more complex projects, particularly those involving islands, handleless conversions, or multi-colour schemes, can run considerably higher; market examples cited across the trade sit anywhere from around £1,800 to £3,800 for comprehensive full-kitchen transformations.
A handful of factors push a quote up or down:
- Door and drawer count, since pricing is usually calculated per unit rather than a flat kitchen fee.
- Removal versus in-situ spraying, with removal and offsite spraying typically adding to labour and transport costs but improving finish quality.
- Repair work, including filling dents, replacing damaged edging, or fixing warped doors before painting can begin.
- Number of colours, since multi-tone kitchens (a popular request for islands versus surrounding units) mean more masking and more spray passes.
- Primer type, with specialist bonding primers for melamine or acrylic costing more than standard primer but reducing failure risk substantially.
Timeline runs on a similar logic. A typical respray takes anywhere from two to five working days from initial prep to reassembly, with an additional curing period before the kitchen sees full daily use, sometimes several days depending on the coating system used. Kitchens with removed doors are usually usable for cooking within a day or two, even while the doors themselves finish curing offsite. For a fuller breakdown of what drives your specific quote, Refinishing Studio's kitchen respray cost guide sets out pricing by job type in more detail.
When is respray the wrong call, and replacement the smarter one?
Respray fixes cosmetic problems. It doesn't fix structural ones, and mistaking one for the other is the most expensive error a homeowner can make on this decision.
- Delaminating vinyl wraps or thermofoil edges that are already lifting will keep lifting under a new coat of paint, because the adhesive bond beneath the wrap has failed, not just the surface finish.
- Water damage and swollen chipboard or MDF, particularly around sinks and dishwashers, means the door's core structure is compromised, and no amount of primer restores dimensional stability.
- Badly warped doors that no longer sit flush will still look warped once painted, since paint doesn't reshape timber or board.
If a handful of doors near the sink have swelled but the rest of the kitchen is sound, replacing just those doors while respraying the remainder is often the most cost-effective route, avoiding a full kitchen replacement while not wasting money painting doors that will fail again within a year. Refinishing Studio's comparison of respray versus refacing covers this trade off in more depth, including where a mixed approach makes sense.
How do you choose a respray professional, and what questions should you ask?
The quality gap between a good respray and a poor one almost never shows up in the quote. It shows up eighteen months later, in the peeling around the handles.
- Ask what primer system they use on melamine, laminate, or acrylic doors specifically, and whether it differs from what they'd use on solid wood.
- Ask whether doors are sprayed offsite or in your kitchen, and if in situ, how they control dust during application.
- Ask how many coats they apply and what flash time they allow between coats. Rushed jobs with one heavy coat fail faster than jobs with three or four thin ones.
- Ask for a dated portfolio, not just finished photos, but ideally examples they can show progressing from prep to completion.
- Ask about warranty terms in writing, including what's covered, for how long, and whether it transfers if you sell the property.
- Ask about insurance, since a tradesperson working in your kitchen for several days should carry public liability cover as standard.
Red flags worth walking away from: quotes dramatically below the typical range with no explanation, no mention of sanding or primer at all, and reluctance to provide references or show completed work.
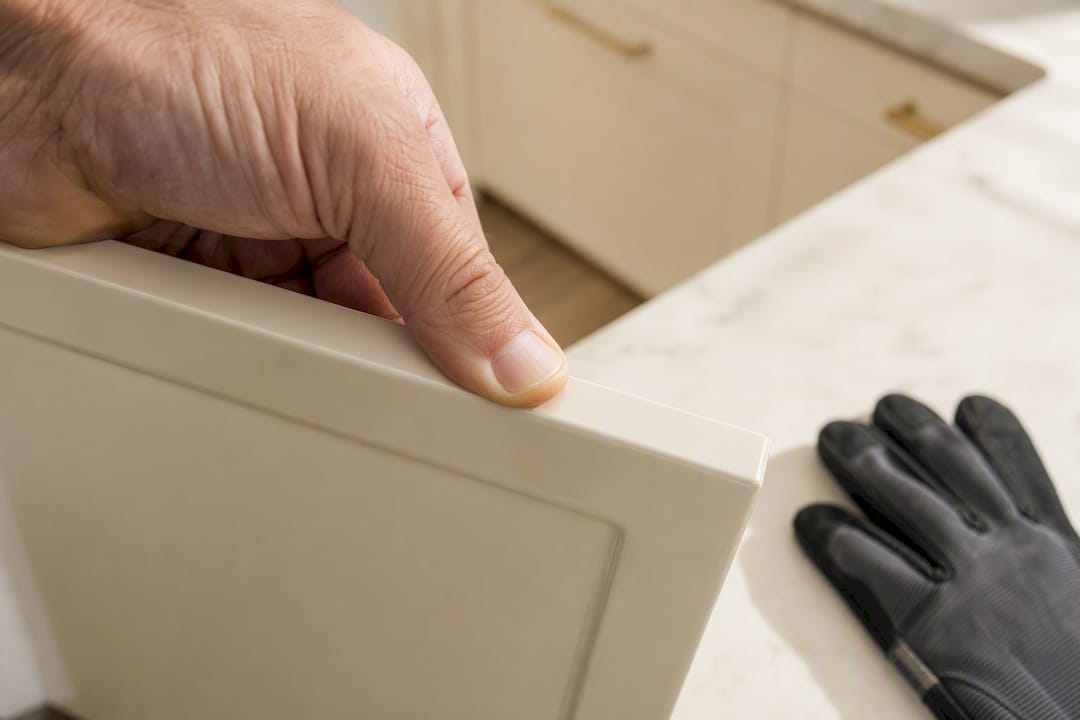
Pro Tip: Once a sample area is cured, press a fingernail firmly into an inconspicuous spot, like the inside edge of a door. A properly cured, factory-standard finish resists marking; a soft or tacky surface after 48 hours signals an undercured or incorrectly mixed coating.
How does Refinishing Studio meet these standards in practice?
Everything covered so far, mechanical keying, correct primer chemistry, controlled curing, is the theory behind why some resprays last and others don't. Refinishing Studio's approach is built directly around avoiding the three failure points that cause most of the trouble.
Some hand-spray techniques apply finishes designed to meet factory standards, which is important on demanding surfaces like acrylic gloss, laminate, and melamine, where adhesion depends on precise primer selection rather than guesswork. Offsite spraying, when practiced, can address dust contamination and inconsistent curing conditions that undermine in-kitchen paint jobs, providing a stable environment for a proper cure.
Some providers have completed over a thousand projects in certain regions and offer a five-year transferable warranty, which suggests confidence in their prep and primer work quality. Tradespeople offering short or no warranties might reflect less confidence in their process.
What's the honest verdict on gloss kitchen respray?
The conventional advice on this topic undersells how much prep actually determines the outcome. Most guides focus on paint brand or colour choice, when the real variable is whether someone actually sanded the surface and used a proper bonding primer, not whether they used a premium or budget topcoat.
Where most homeowners go wrong is treating a respray quote like a painting quote, when it's closer to an industrial coating job. The prep sequence, degrease, key, prime, cure, is what separates a kitchen that looks new for five years from one that's chipping by Christmas. A tradesperson's willingness to back that sequence with a written, transferable warranty tells you more about their confidence than any before-and-after photo does.
Prioritise the process over the price. Ask about primer systems and curing conditions before you ask about colour swatches, and treat a vague answer on either as the biggest red flag in the whole conversation.
— Mitchell
Getting a quote for your kitchen respray
Some specialist providers offer a direct alternative to a full kitchen replacement, giving a factory-standard finish at a fraction of the cost, sometimes backed by a five-year transferable warranty that many DIY jobs and painters do not provide. Getting started usually involves a site survey to look at specific doors, check substrate condition, and identify any repair work needed before a written estimate and timeline are put together.

You can browse completed projects across South Wales to see finish quality on real kitchens, including a custom forest green respray in Cardiff, and check the full warranty terms before booking anything. If you're weighing up finish and colour options first, the kitchen respraying service page covers the full range available. When you're ready, request a survey or send photos of your kitchen for an initial estimate, and you'll have a written quote in hand before making any decision.
Sources
- Painting high gloss kitchen cabinets | Homebuilding
- Can you paint gloss kitchen cabinets? | Ideal Home
FAQ
Can gloss kitchens be sprayed?
Yes, most gloss kitchen doors can be sprayed successfully with proper sanding, degreasing, and a bonding primer, though vinyl-wrapped or thermofoil doors with lifting edges often respond poorly and may need replacing instead.
How much does a kitchen respray cost?
Typical UK professional respray costs range from around £800 to £1,600 for straightforward kitchens, rising to roughly £1,800 to £3,800 for larger or more complex projects involving islands, multiple colours, or repair work.
What are the downsides of a gloss kitchen finish?
Gloss shows fingerprints, water marks, and dust far more readily than matt or satin finishes, and any surface imperfection beneath the paint becomes more visible under the reflective sheen.
Is a kitchen respray worth it?
For kitchens with sound cabinet substrates, a respray typically costs a fraction of full replacement while delivering a comparable factory-standard look, and a five-year transferable warranty from a reputable provider like Refinishing Studio adds real long-term value to that saving.