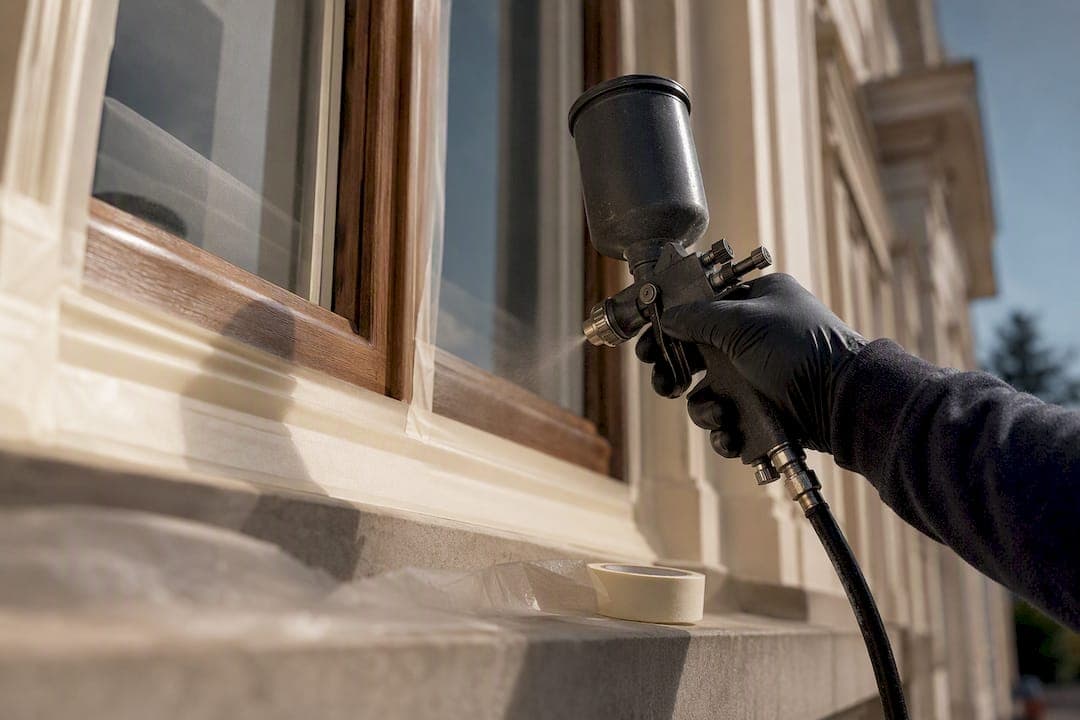
Yes, provided the timber is sound, dry and properly prepared, and you use a compatible primer and topcoat system. Spraying gives a smoother, more even finish than brushwork. That is why joinery manufacturers use it as standard. If the frames have rot, damp, or failed putty, fix those problems first. Everything below covers preparation, equipment and when to call in a professional.
TL;DR:
- Proper preparation, including drying the timber to 12-16% moisture content and sealing end grain, is crucial to prevent blistering and early failure.
- Spray finishing works only on sound, decay-free timber with intact joints; widespread rot around the bottom usually requires repair or replacement.
- Using high-quality, compatible coating systems and professional equipment results in a longer-lasting finish, especially on complex profiles or aged timber.
- DIY spraying can produce good results on simple, sound frames but lacks the consistency and warranty of professional services, which also offer faster turnaround.
- Regular maintenance, such as annual inspections for cracking or lifting paint, helps prolong the lifespan of timber windows and prevent rot.
Table of Contents
- When spraying works and when to repair or replace first
- How to prepare timber windows for spraying: step by step
- Which spray methods and coatings actually work on timber?
- Common mistakes that ruin a timber window spray finish
- DIY spraying versus hiring a professional: what actually changes
- What good preparation actually buys you long-term
- Get a professional timber window respray quote
- Sources
- FAQ
When spraying works and when to repair or replace first
Spray finishing suits timber that's structurally sound, whatever its age. The frame doesn't need to be new. It needs to be free of active decay, with joints that are still tight and a glazing rebate that hasn't broken down.
Before booking a sprayer or hiring kit, check for these warning signs:
- Soft, spongy patches when you press a screwdriver into the timber, especially at joints and sills
- Flaking or bubbling paint that reveals grey, crumbling wood underneath (a sign of wet or dry rot)
- Putty that's cracked, missing, or pulling away from the glass
- Gaps at the joints where water has clearly been getting in
Small areas of decay can often be cut out and repaired with epoxy filler, then sprayed over once cured. Widespread rot, especially around the bottom rail or cill, usually means a joinery repair or full sash replacement makes more sense than spending money on a coating that will fail within a year or two.
If your windows are in a listed building or conservation area, check with your local planning authority before changing the finish or profile. Some areas restrict colour, sheen level, or even whether spraying (versus traditional brush application) is acceptable for the property's character.
How to prepare timber windows for spraying: step by step
Preparation is where most DIY jobs succeed or fail, and it's also where professional finishing services spend most of their time. Skipping steps here shows up as blistering, flaking or rot within a season.
- Strip or abrade back to sound timber wherever the existing paint is cracked, peeling or bubbling.
- Rake out loose or failed putty and either reputty properly or use a paintable flexible glazing sealant.
- Cut out and repair any decayed sections with epoxy timber filler, following the manufacturer's cure time.
- Check moisture content with a timber moisture meter. Aim for 12 to 16 percent before coating; anything wetter needs more drying time.
- Clean and degrease the surface, then sand to give the primer a key to bite into.
- Seal exposed end grain and sill edges, the areas most prone to soaking up water.
- Mask glass, ironmongery and surrounding brickwork or render thoroughly, since overspray travels further than most people expect.
Pro Tip: Buy a cheap pin-type moisture meter before you start. Guessing whether timber is "dry enough" by touch is the single biggest reason DIY spray jobs blister within months.
TRC Windows puts it simply: a correct job comes down to dry, clean, sound timber, a compatible coating system, and repainting roughly every five to seven years. Get those three right and the finish does the rest.
Which spray methods and coatings actually work on timber?
Professional refinishers typically use air assisted airless equipment, which combines pressurised paint feed with air atomisation for a fine, even film. It's the same principle behind the multi-stage flowcoat and robotic spray systems manufacturers use on premium joinery in factory conditions.
DIY kit can work, but the margins for error are tighter:
- Gravity-fed or small compressor guns need the right nozzle size. Technical guidance for water-borne opaque coatings recommends 0.028 to 0.033mm nozzles for air-assisted airless rigs, or around 2 to 2.5mm for conventional pot guns, according to Mighton's product data sheet.
- Over-thin the paint and you lose film build; that same data sheet advises no more than 10 percent thinning for conventional guns.
- HVLP guns give a finer atomised finish but demand full masking, a decent compressor, and practice before you touch a window frame.
Coating systems matter more than any single product name. A primer, midcoat and topcoat designed to work together will always outperform three unrelated products layered on top of each other. Spraying also needs stable conditions: most systems cure poorly below around 10°C or in high humidity, so a damp autumn weekend is the wrong time to start.
Common mistakes that ruin a timber window spray finish
Most failures trace back to a handful of avoidable errors, not bad luck or bad paint.
- Painting damp timber. Moisture trapped under a fresh coat causes blistering and poor adhesion within weeks, not years.
- Coating over failed putty or hidden rot. The finish might look perfect for a month before the substrate underneath gives up.
- Skipping end grain sealing. Water soaks into unsealed end grain faster than almost anywhere else on the frame.
- Underestimating overspray. In-situ spraying contaminates anything nearby unless you mask glass, brickwork and hardware properly, and keep doors and windows shut while it dries.
- Using a non-breathable coating on exterior softwood. Trapping moisture inside the timber causes rot from within, even when the surface still looks fine.
Pro Tip: If you get a run or a thin patch after spraying, resist the urge to spray over it again while it's wet. Let it flash off, then touch it in by brush. Chasing wet paint with more wet paint is how drips happen.
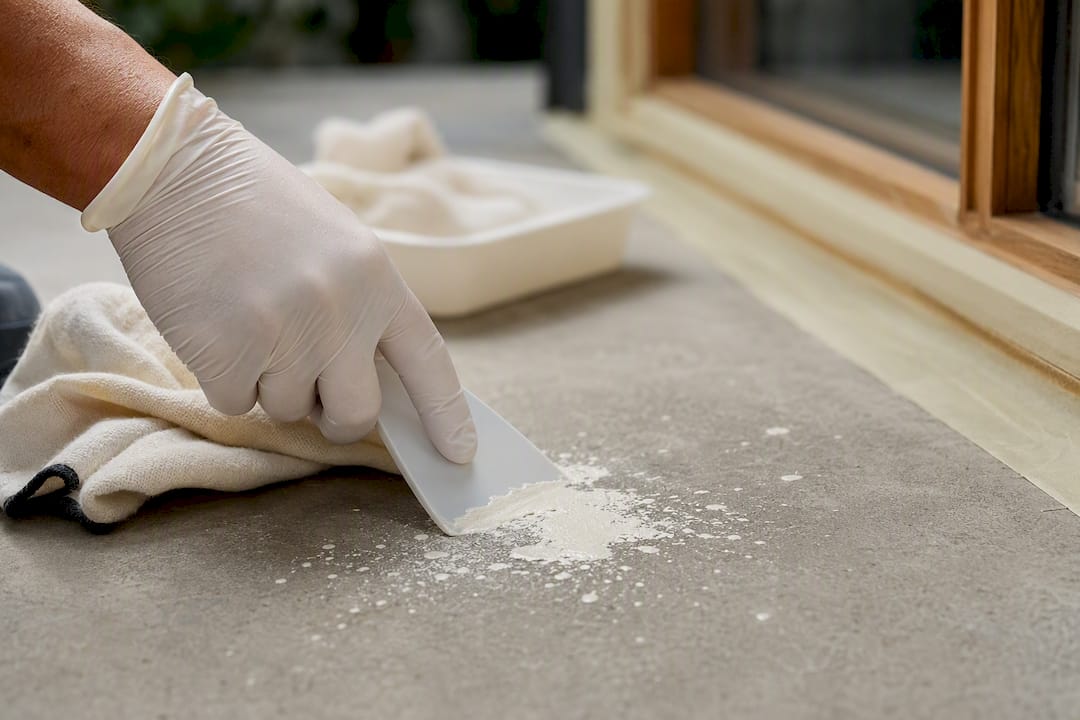
If you're worried about overspray landing on a driveway or patio, removing accidental paint from concrete is far easier if you deal with it while it's still fresh rather than cured.
DIY spraying versus hiring a professional: what actually changes
DIY spraying can produce a genuinely good result on straightforward casements if you've got the patience for proper masking and a decent gun. What it can't easily replicate is the consistency of a controlled process, and there's no warranty behind it if the finish fails early.
A professional hand-spray service brings a few things that are hard to match at home:
- Controlled film build and cure, the same factors that separate a durable finish from one that peels in a year
- A transferable warranty backing the work, rather than hoping the paint holds
- Experience judging when timber genuinely needs repair versus when it's fine to coat
- Faster turnaround on multiple windows without the frame being out of action for days
Complex profiles, older joinery, conservation-area properties, or any sign of substrate failure are the situations where paying for professional refinishing saves more money than it costs. Straightforward, sound casements in good condition are where a careful DIY approach is most likely to hold up.
What good preparation actually buys you long-term
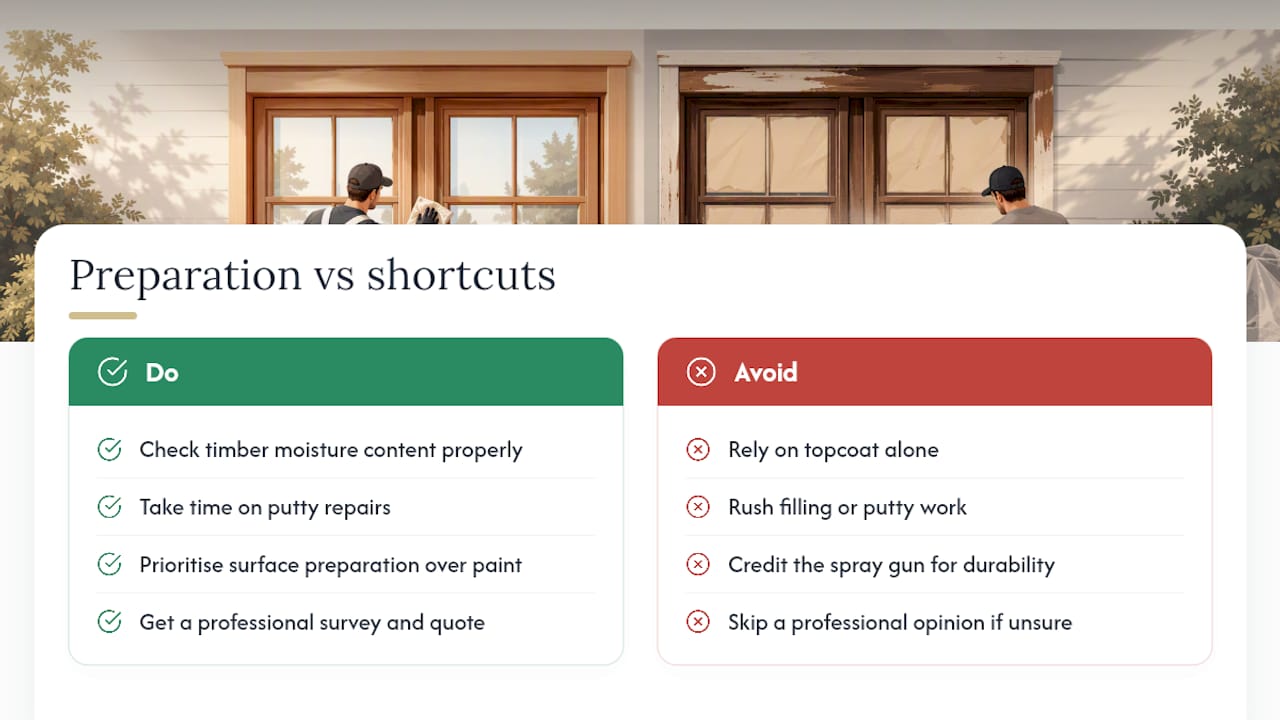
The frames that last aren't the ones sprayed with the best paint. They're the ones where someone checked moisture content properly and didn't rush the putty repairs. That's the pattern across every job worth looking at closely, timber or otherwise.
Refinishingstudio's projects across UPVC and other substrates reinforce the same lesson: the spray gun gets the credit, but preparation does the actual work. If your frames need more than a fresh coat and you'd rather get a professional opinion first, that's what a survey and quote are for.
— Mitchell
Get a professional timber window respray quote
A hand-spray finish can be applied to timber, UPVC, aluminium and composite frames to achieve a factory-standard result without replacing sound windows.

The process starts with a survey to check the timber's condition and moisture content, followed by a fixed quotation and a realistic timescale before any spraying begins. Every job comes with a five-year transferable warranty, and you can choose from a wide range of colours and finish options, from matt through to gloss. There are no subcontractors involved, just a small team working directly on your property. If your frames are sound but tired-looking, browse the portfolio for examples, then get in touch through Refinishingstudio to book a survey.
Sources
The practical claims in this article draw on manufacturer and trade sources readers can check directly:
- 17-0695 Mighton matt finish technical data sheet
- Best practice for painting timber windows - TRC Windows
- Repainting Wooden Windows: When and How Often? - Mumford & Wood
FAQ
What are the downsides of using timber windows?
Timber needs regular maintenance, including repainting periodically, and it's more vulnerable to rot than UPVC or aluminium if moisture gets past the coating. Properly maintained timber frames, however, can last for decades and take repairs far better than synthetic alternatives.
How often should timber windows be painted?
Most timber windows need repainting periodically, though exposure to weather, sun and coastal salt air can shorten that interval. Checking the finish annually for cracking or lifting paint catches problems before they become rot.
How do I make wooden windows waterproof?
You can't make timber fully waterproof, but sealing end grain, keeping putty intact, and applying a compatible primer and topcoat system keeps water out effectively for years. Gaps at joints or sills are the weak points to check first.
What is the best finish for old wood window frames?
There's no single best finish; it depends on the coating system and how well the timber was prepared beforehand. A compatible primer, midcoat and topcoat applied to properly dried, sound timber will outperform any single premium paint used without matching preparation.