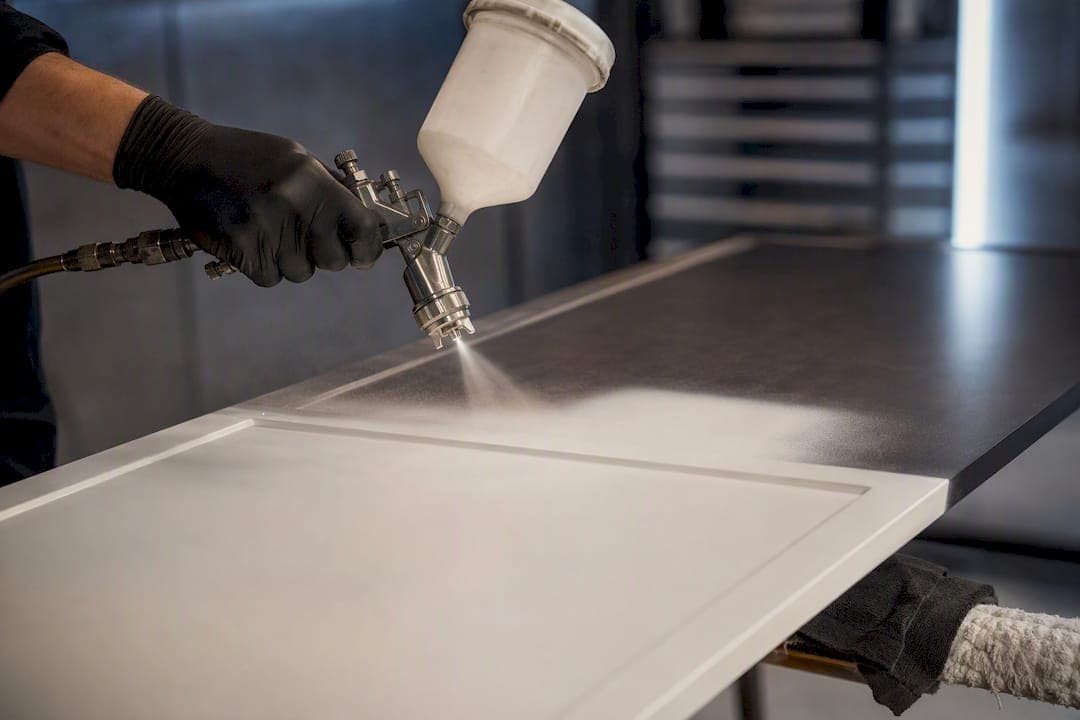
Yes, you can spray dark cabinets white, and done properly it gives a smoother, more even finish than brushing ever will. The result depends almost entirely on preparation: degreasing, scuff-sanding, and a stain-blocking bonding primer before any white topcoat goes near the surface. Skip that stage and dark pigment or old grease will fight you for months. Get it right and you can handle doors after 24 to 48 hours, with a full cure landing around seven days.
TL;DR:
- A stain-blocking primer is essential to prevent dark pigments and tannins from bleeding through the white finish, requiring thin, even application and proper recoat timing.
- Proper prep involves thorough degreasing, filling, caulking, and scuff-sanding, with rushed preparation being the leading cause of adhesion failures and peeling.
- Using an HVLP sprayer and practicing on scrap material ensures a smooth, even coat while minimizing overspray, sagging, and runs during spraying.
- A waterborne alkyd or acrylic enamel in satin or semi-gloss provides the best durability for white cabinets, with handling recommended after 24 to 48 hours and full cure in about a week.
- For those unwilling to manage the spray setup or wait for full curing, professional respray services offer a factory-quality finish with warranties, tailored color matching, and minimal disruption.
Table of Contents
- What you need before you start spraying kitchen cabinets
- How do you prep dark cabinets before painting white?
- Which primer stops dark colour bleeding through white paint?
- How do you spray cabinets without leaving runs?
- Which topcoat and sheen work best on white cabinets?
- Planning reassembly without losing your kitchen for weeks
- Fixing runs, adhesion failures and stain bleed
- Keeping white sprayed cabinets looking new
- When does a professional respray beat the DIY route?
- Considering a professional finish instead of a full DIY weekend
- Sources
- FAQ
What you need before you start spraying kitchen cabinets
Buying the wrong sprayer is the single biggest reason DIY cabinet jobs stall halfway through. An HVLP (high volume, low pressure) turbine sprayer is the standard choice for this job because it atomises paint finely enough to avoid the orange-peel texture cheaper equipment leaves behind. A gravity-feed HVLP gun paired with a decent compressor gives close to a factory-like finish when handled correctly. If you're only doing a handful of drawer fronts, a quality cabinet-grade aerosol enamel is a reasonable shortcut, though it won't match HVLP for coverage on larger runs.
Beyond the sprayer, gather:
- A kitchen degreaser or TSP substitute, plus clean rags and warm water for rinsing
- 120 and 220 grit sandpaper (or a sanding sponge) for scuff-sanding between coats
- Flexible caulk and a fine wood filler for gaps and nail holes
- A stain-blocking bonding primer and a waterborne alkyd or acrylic enamel topcoat
- Masking film, painter's tape, and tack cloths for dust removal
Wear a proper respirator rated for solvent or waterborne coatings, not a dust mask, plus safety goggles. Spray in a garage or a space you can seal off and ventilate, and hang doors on a rack rather than laying them flat, which traps overspray and dust against the wet surface.
How do you prep dark cabinets before painting white?
Preparation is where most DIY cabinet projects succeed or fail, and it's not close. Poor degreasing and skipped scuff-sanding are the two most common causes of peeling and adhesion failure cited by Which?, and that single fact should shape how much time you budget for this stage. Rushing prep to get to the "fun part" of spraying is the most expensive mistake you can make on this job.
- Remove and label everything. Take off doors, drawer fronts, and hardware, then photograph each cabinet position and number the back of every door with masking tape. This sounds fussy until you're staring at fifteen identical white doors trying to remember which hinge holes line up where.
- Degrease thoroughly. Kitchen cabinets, especially near the hob, carry a film of cooking grease that no amount of paint will stick to properly. Use a kitchen degreaser or TSP substitute, scrub every surface, then rinse with clean water and let the wood dry fully before touching it again.
- Fill and caulk. Fill nail holes and dents with wood filler, and run flexible caulk into any gaps between frame and panel. Filler and caulk need to cure fully before priming, because shrinkage or solvent interaction can telegraph through a white finish weeks later.
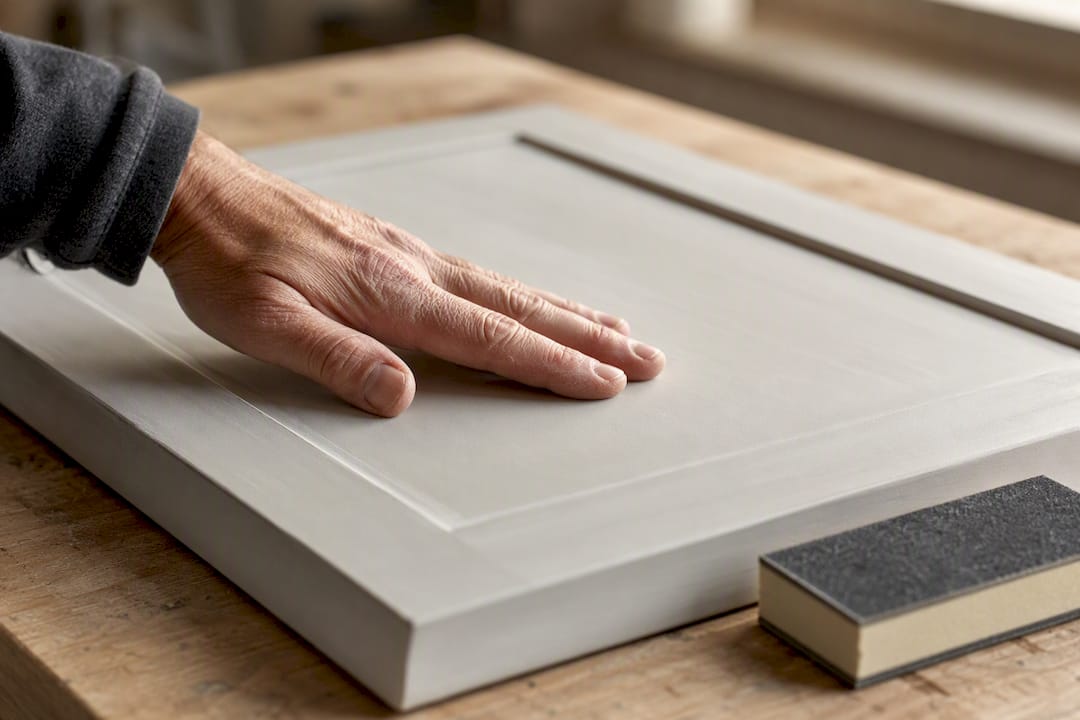
- Scuff-sand everything. Use 120 grit to knock back the sheen on the old finish, then wipe down with a tack cloth to lift every trace of dust before priming.
Dark stained wood hides small imperfections that white paint will expose without mercy, which is exactly why the filling step happens before, not after, you prime.
Pro Tip: Run your hand flat across every panel after sanding, eyes closed. You'll feel ridges, dust nibs, and rough patches your eyes will miss under kitchen lighting.
Which primer stops dark colour bleeding through white paint?
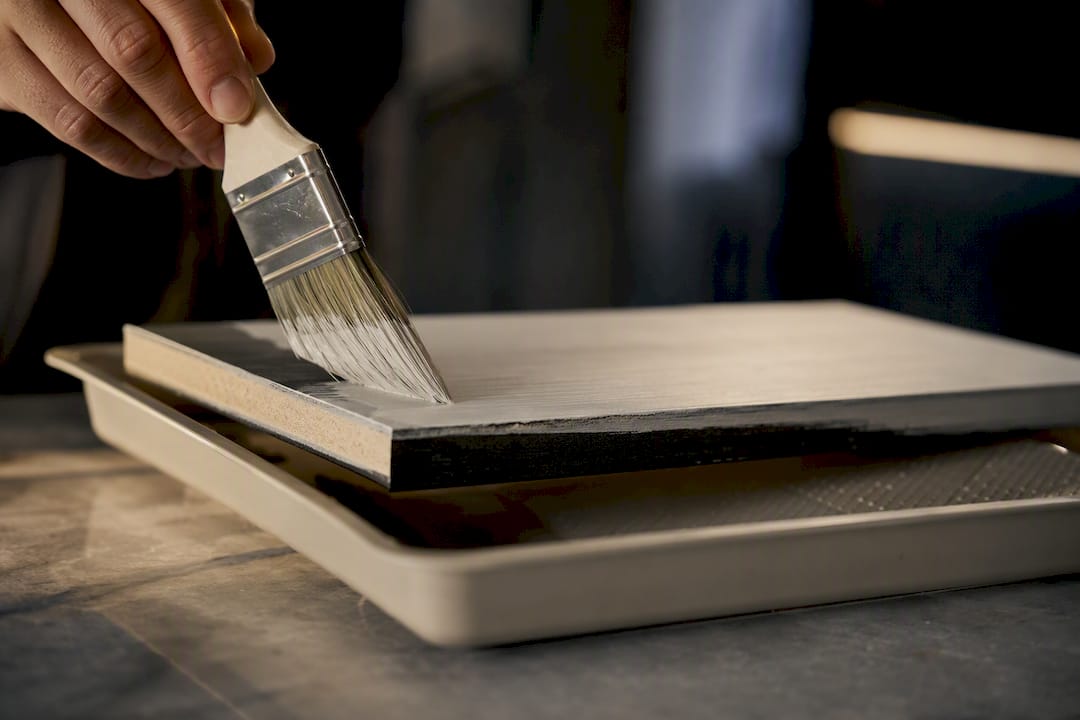
A stain-blocking bonding primer is not optional on a dark-to-white cabinet project. Without one, tannins in oak or the pigment in a dark stain can bleed through even two or three coats of white topcoat, leaving a faint yellow or grey shadow that only gets worse over time. This is the step that separates a finish that looks factory-fresh from one that looks patchy within a year.
Apply the primer in thin, even passes rather than one thick coat, spraying at the same distance and speed you'll use for the topcoat later. This is your dry run for gun control before the colour that actually matters goes on.
- Choose a primer specifically labelled as stain-blocking or bonding, not a general-purpose undercoat
- Lightly sand between primer coats with 220 grit if the surface feels at all rough
- Check the tin's recoat window before applying a second coat or moving to topcoat
- Inspect under raking light (a torch held at an angle) to spot missed patches before committing to colour
Most bonding primers are compatible with both waterborne alkyd and acrylic enamel topcoats, but check the manufacturer's guidance if you're mixing brands between primer and finish.
How do you spray cabinets without leaving runs?
Every experienced sprayer says the same thing: practise on a scrap door or a piece of cardboard before your cabinets ever see the gun. Pentura Paints makes the point plainly, and it's worth repeating because it's the step most DIYers skip out of impatience. Volume, pressure, tip size, distance, and travel speed all interact, so changing one setting means adjusting the others before you can trust the pattern you're laying down.
- Dial in your settings on scrap first. Adjust fan pattern, fluid volume, and air pressure until you get a smooth, even fan with no spitting or heavy edges.
- Hold the gun 10 to 12 inches from the surface and keep it moving at a constant speed, starting your pass just off the edge of the panel and releasing the trigger only once you've moved past the other edge.
- Overlap each pass by roughly 50%. This keeps film build consistent and avoids the striping you get from single-pass coverage.
- Build the finish in thin coats, letting each one reach tack-free before the next. Two to three thin coats self-level far better than one heavy application, which is almost guaranteed to sag or run on a vertical door face.
- Rotate awkward pieces rather than the gun. Hang doors so you can walk around them, and tilt drawer fronts to catch edges and profiles that a flat pass would miss.
Constant motion matters more than almost any other single habit here: stopping while the trigger is still depressed is the fastest way to get a drip, because paint keeps flowing onto a spot that isn't moving.
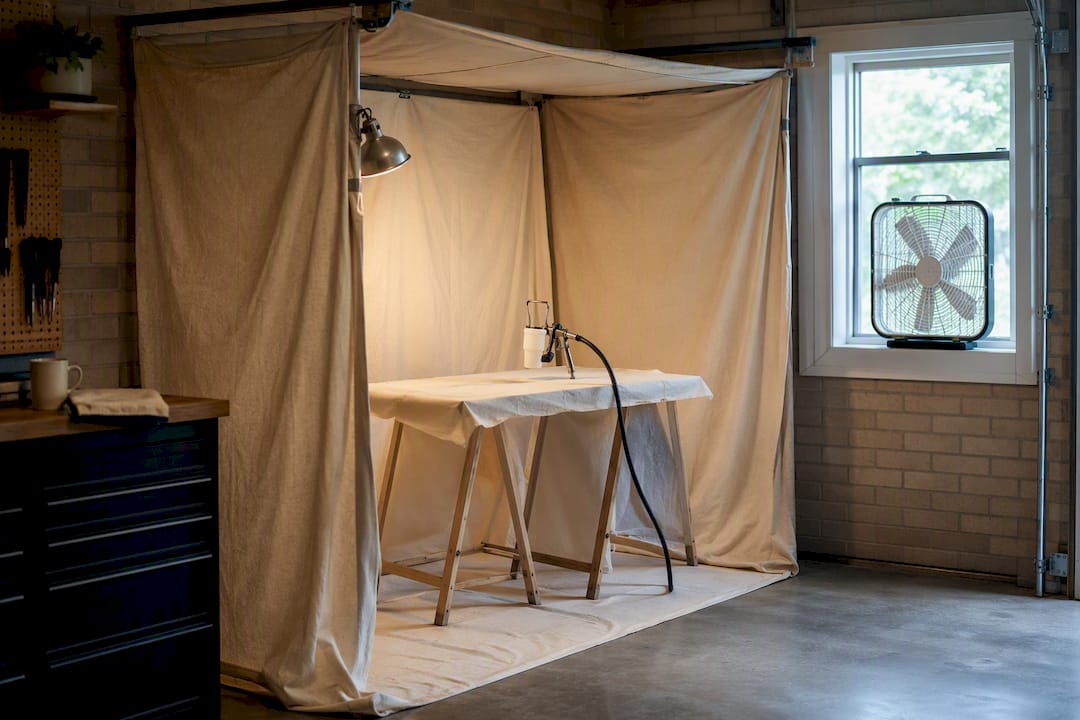
Pro Tip: Set up a simple spray booth using dust sheets and a box fan pulling air out through an open window. It won't match a professional filtered booth, but it cuts overspray drift and dust contamination dramatically, and staging in a garage or workshop produces noticeably cleaner results than working in an open driveway.
Which topcoat and sheen work best on white cabinets?
For durability, a waterborne alkyd or acrylic enamel is the standard recommendation for cabinet tops, because both hold up to daily handling and wipe clean far better than a standard wall emulsion. Waterborne alkyds in particular combine oil-paint-like flow and self-levelling with water cleanup and a lower odour, which matters when you're spraying indoors or in an attached garage.
- Satin is the most forgiving everyday choice: enough sheen to wipe clean, not so much that it highlights every roller mark or surface flaw
- Semi-gloss suits households that want maximum wipeability, particularly around hobs and sinks, at the cost of showing more surface imperfections under direct light
- Avoid full matt on cabinetry; it looks striking in photos but marks and stains far more easily in daily use
Timing shapes how you plan the rest of the job. Handle sprayed doors gently after 24 to 48 hours, but hold off on heavy use, stacking, or reinstalling hardware until full cure at around seven days. That week-long cure window is the figure to build your whole schedule around, not the 24 to 48 hour handling mark, because a finish that feels dry can still be soft enough to dent or scuff underneath. Before reinstalling anything, do a final scuff check under raking light and buff out any dust nibs with fine sandpaper.
Planning reassembly without losing your kitchen for weeks
Your labelling system from the prep stage earns its keep here. Match numbered doors back to their original cabinet using your photographs, and resist the urge to rush hardware back on while paint is still within its cure window.
- Rehang low-use doors and drawers first, saving high-traffic ones like the bin cupboard for last
- Hand-tighten hinge screws initially, then snug them fully once the finish has had a few days to harden
- If you can't take the whole kitchen out of action at once, spray in batches of four to six doors so some cabinets stay usable throughout
- Slip felt pads under drawer runners and hinge plates to stop fresh paint scuffing against itself when doors close
Going slow at this stage protects a week of prep and spraying work from being undone by an overtightened screw.
Fixing runs, adhesion failures and stain bleed
Even careful spraying throws up the odd problem, and most are fixable without stripping the whole door. A run or sag, once fully dry, sands out with 320 grit until level, then gets a light recoat blended into the surrounding area with a feathered pass.
- Adhesion failure (paint peeling or flaking in sheets) almost always traces back to skipped degreasing or sanding, and the fix is a full strip back to bare wood, not a patch
- Tannin or stain bleed shows as a yellow or brownish tint pushing through white paint weeks after finishing; it needs a dedicated stain-blocking primer coat over the affected area before recoating
- Dust nibs and orange peel texture respond well to wet-sanding with 400 grit and a fresh, thinner topcoat pass
- If more than one or two panels show adhesion problems, treat it as a sign the whole batch was under-prepped, not a one-off fault
Keeping white sprayed cabinets looking new
A sprayed white finish is tougher than people expect, but only if you clean it the right way. Wipe cabinets weekly with a soft cloth and a pH-neutral cleaner diluted in warm water, working in the direction of the grain rather than scrubbing in circles.
- Avoid ammonia-based cleaners and anything abrasive; both dull the sheen and can yellow a white finish over time
- Wipe up grease splashes near the hob promptly rather than letting them build up and require harder scrubbing later
- Keep a small labelled pot of leftover topcoat for touch-ups on scuffs and chips, applied with a fine artist's brush rather than a full respray
- If a touch-up won't blend or damage covers a whole panel, that's the point to call in a professional rather than keep patching
For a fuller routine, the guide to cleaning sprayed kitchen cabinets covers product recommendations in more depth.
When does a professional respray beat the DIY route?
DIY spraying rewards patience and space. If you're short on either, or your kitchen has a lot of awkward panels, islands, or handleless units, a professional respray removes the variables that trip up first-timers: dust contamination, inconsistent cure conditions, and the guesswork of matching primer to topcoat. A professional hand-spray technique built around a three-layer logic is commonly used, sometimes backed by warranties and extensive experience. A professional workflow also means no gap between "handleable" and "fully cured" disrupting your kitchen, since the finish is applied under controlled conditions from the start.
— Mitchell
Considering a professional finish instead of a full DIY weekend
If staging a spray booth in your garage and living without a kitchen for a week doesn't appeal, a professional service offers the alternative: a hand-spray, factory-standard approach done for you, sometimes with warranties and direct service delivery.

The service covers full kitchen respraying, individual cupboard and door spraying, and handleless conversions for kitchens wanting a more contemporary look without replacing the carcasses. Colours can be matched to RAL or BS references or specified as custom, and finishes range from matt through to gloss depending on how the space gets used day to day. Every job is quoted, prepped, and sprayed by the same team, and payment falls due only once you've walked through the finished kitchen and signed it off.
To get a quote, photograph your cabinets in natural light, including any problem areas like water damage or peeling laminate, and note roughly how many doors, drawers, and end panels you have. You can start that process through the kitchen respraying service page whenever you're ready to compare it against a weekend of DIY spraying.
Sources
For deeper technical detail beyond this guide, see Dulux's guidance on spraying cabinets, Which?'s cabinet painting advice, and the complete spray-painting guide from Spray Painter Guide.
- Dulux decorator centre — spray cabinets
- Which? — how to paint kitchen cabinets
- Pentura Paints — how to spray paint kitchen cabinets
- Popular Mechanics — how to spray‑paint kitchen cabinets
FAQ
Can I paint dark cabinets white?
Yes. Degrease and scuff-sand the surface, apply a stain-blocking bonding primer, then finish with a waterborne alkyd or acrylic enamel topcoat in satin or semi-gloss for the most durable, factory-like result.
Is spraying kitchen cabinets a good idea?
Spraying gives a smoother, more even finish than brushing or rolling because it eliminates brush marks, though it does require staging space, a proper sprayer, and good ventilation to control overspray.
Can I paint white over a dark colour?
You can, but dark pigment and wood tannins can bleed through white paint without a dedicated stain-blocking primer, so that step isn't optional on a dark-to-white project.
How do I paint white over dark wood?
Clean and sand the wood, fill any gaps or holes, apply a bonding stain-blocking primer, then spray two to three thin coats of white topcoat, allowing 24 to 48 hours before handling and around seven days for full cure.
How much does professional kitchen cabinet respraying cost?
Pricing depends on kitchen size and finish, and current figures are available directly through Refinishingstudio's kitchen respraying page after a quote based on your photographs and cabinet count.