Yes, in most cases. If the existing coating is stable, still bonded to the substrate and free of major cracking or peeling, a professional can spray straight over it after proper preparation. Where the old finish is failing, it needs stripping back before recoating. Either way, a professional respray costs roughly 20 to 25% of a full replacement and can last 10 to 15 years, so check for flaking or bubbling first, or book a survey if you're unsure.
TL;DR:
- Respraying is suitable only when the existing coating is stable, free of major cracking or peeling, and the frames are structurally sound.
- The cost of a professional uPVC respray generally ranges from £80 to £2,200, depending on the scope, complexity, and surface remediation needs.
- Proper preparation, including testing adhesion and possibly stripping old coatings, is critical to ensure durability and avoid early failure.
- A well-executed professional respray can last between 10 and 15 years, outperforming non-specialist DIY jobs that often last around five years.
- Avoid spraying over damaged or warped frames, cracked uPVC, or failing seals, as these issues require replacement rather than surface-level cosmetic work.
Table of Contents
- When to choose respray over replacement
- What respraying costs and what affects the price
- Preparing previously sprayed uPVC for a fresh coat
- What happens during a professional respray
- Which uPVC coating should you use, and is DIY worth it?
- How long does a professional uPVC respray last?
- What can go wrong when respraying previously sprayed uPVC
- Signs your uPVC isn't suitable for a straightforward respray
- Environmental and safety considerations during respraying
- What your resprayed uPVC will actually look like afterwards
- A studio owner's view on remediation and getting it right
- Get a survey and a fixed quote from Refinishing Studio
- Sources
- FAQ
When to choose respray over replacement
Respraying makes sense when the frame itself is sound and the problem is purely cosmetic: faded white uPVC, a colour you're tired of, or a previous respray that's simply due a refresh. If the existing coat is stable, the seals are intact and the frames still open and close properly, you're a good candidate.
Replacement becomes the better call when the damage runs deeper than the surface. Warped or twisted frames, failed double glazing units, or gaskets that no longer seal all point towards new units rather than a repaint. And if your windows are brand new and still under a manufacturer's warranty, spraying them could void that cover, so check the paperwork first.
Before calling anyone, run through this quick check:
- Press along the frame for soft, bubbling or flaking patches.
- Open and close doors and windows to check for sticking or misalignment.
- Look at corner joints for gaps, warping or visible movement.
- Check whether existing double glazing units have condensation trapped between panes.
- Confirm whether the frames are still within a manufacturer's guarantee period.
If everything checks out structurally, you're almost certainly looking at a straightforward respray rather than a full swap-out.
What respraying costs and what affects the price
Whole-house exterior resprays typically run between £900 and £1,800, with individual doors or frames averaging around £230 each and garage doors usually falling between £250 and £350. Refinishing Studio's own UPVC window spraying pricing spans £80 to £2,200 depending on the number and size of windows, while door spraying runs from £250 to £650. That spread exists because no two jobs are identical.
Several things push a quote up or down:
- Remediation needs: a surface that must be stripped back costs more than one that's simply cleaned and abraded.
- Access: upper storeys, conservatories, or awkward gable ends take longer to mask and spray.
- Colour: custom RAL or BS shades and bespoke finishes add to material and labour time.
- Height work: anything needing scaffold or platform access carries its own cost.
When comparing quotes, ask each company to break the price down into preparation, coatings, labour and warranty terms separately. A single lump figure hides where your money is actually going, and it makes it far harder to spot a corner being cut.
Preparing previously sprayed uPVC for a fresh coat
A previously sprayed surface isn't a blank canvas. It has history, and that history needs checking before anyone reaches for a spray gun. A professional will typically test a small patch for adhesion, looking for the classic failure signs: peeling at the edges, fine crazing across the surface, or localised delamination where the old coating has lifted in patches. Checkatrade notes that previously sprayed jobs are often more complex precisely because that existing coating has to be assessed before anything new goes on.
From there, the applicator chooses one of two routes:
- Spot-abrade and re-prime where only small areas show signs of failure, patching those sections before recoating the whole surface.
- Full strip to substrate where the original coating is unstable across most of the frame, removing it entirely before starting again from bare uPVC.
A spot repair adds relatively little to the timeline. A full strip can add a day or more to a job and increase the quote noticeably, since it's effectively two jobs in one: removal, then a standard respray.
Pro Tip: Photograph any bubbling, cracking or discoloured patches before you get quotes in. Send them to each company and ask specifically how they'd remediate that area. Their answer tells you a lot about how thorough they actually are.
What happens during a professional respray
A typical job follows a set sequence, and knowing it helps you judge whether a quote is cutting corners.
- Survey and colour selection. The applicator checks the substrate, discusses RAL or BS colour options, and confirms the finish (best sheen for interior doors like matt, satin, eggshell or gloss).
- Masking and protection. Glass, brickwork, and anything nearby that shouldn't get overspray is covered.
- Cleaning and degreasing. Surfaces are wiped with solvent-based cleaners to strip grease, silicone residue, and grime.
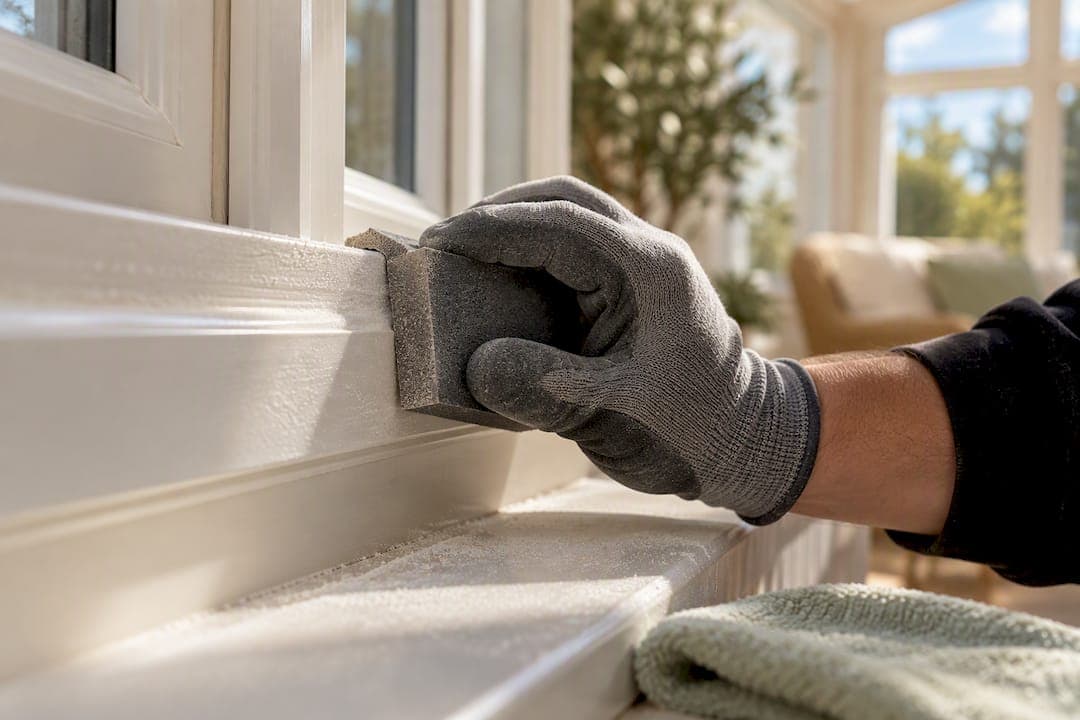
- Abrasion. A red Scotchbrite pad or similar keys the surface so the new coating has something to grip, following the kind of architectural refinishing specification used across the trade.
- Priming and topcoats. An adhesion primer goes on first, followed by two coats of weather-grade specialist paint.
Most domestic jobs finish within a day, though temperature and humidity matter. Coatings need a minimum ambient temperature to cure properly, so a job scheduled for a damp, cold week may need rescheduling rather than rushed application.
Which uPVC coating should you use, and is DIY worth it?
Not all uPVC paint is equal, and this is where a lot of DIY jobs come unstuck. Aerosol touch-up cans are fine for a scuffed corner but weren't designed for full exterior exposure. Specialist brushable uPVC paints sit a step up, giving reasonable results on smaller areas when applied carefully. Professional two-pack and moisture-curing spray systems sit at the top: Rawlinspaints notes that these systems offer chemical bonding and UV resistance that aerosols simply can't match, which is why they hold their colour and adhesion for years rather than months.
That difference shows up fast on a full exterior, where uneven spray patterns are far more visible than on a single door. If you're set on a DIY attempt, keep it small and understand the trade-offs:
- Aerosols and rattle cans risk patchy coverage and early peeling on exterior frames.
- Brushed household or consumer uPVC paints, some rated by manufacturers for up to 10 years, perform better but depend heavily on preparation.
- Spraying new frames yourself can void a manufacturer's warranty, so check before you start.
- Getting even coverage on long frame runs by hand is genuinely difficult, which is part of why spraying is the professional's preferred method for anything beyond a small area.
For a single internal door touch-up, brushing may be perfectly reasonable. For exterior work exposed to UV and weather, a professional two-pack system is the safer bet.
How long does a professional uPVC respray last?
Done properly, a professional respray typically lasts 10 to 15 years, compared to around five years for jobs done with non-specialist paint, according to Checkatrade's cost analysis. That gap comes down almost entirely to the coating used and how well the surface was prepared beforehand, not luck.
Keeping it looking fresh doesn't take much. Clean frames occasionally with mild soapy water rather than abrasive or solvent-based cleaners, which can dull the finish over time. Check seals and edges annually for early signs of lifting, and deal with small chips or scuffs promptly rather than letting moisture get underneath the coating. If you spot a patch of the finish looking tired well before the decade mark, that's worth a professional look rather than a wait-and-see approach.

What can go wrong when respraying previously sprayed uPVC
The risks with previously sprayed uPVC are different from spraying bare, unpainted frames, and they nearly all trace back to one thing: what's already on the surface. Checkatrade's guidance points to inadequate original preparation as the single most common cause of early failure, and a new coat applied over that weak foundation inherits the same problem.
Adhesion failure is the big one. If the old coating wasn't properly keyed or primed, a new topcoat can bond well to the surface but poorly to what's underneath, so the whole system eventually lifts as one sheet rather than staying put. Bubbling usually points to trapped moisture or contamination, silicone residue, grease, or condensation sealed in during application, that expands and pushes the finish away from the substrate as temperatures rise and fall. Peeling tends to show up at edges and corners first, where movement and weather exposure are greatest, and it's often the earliest visible sign that adhesion has already started to fail elsewhere.
Colour mismatch is a subtler risk. Where a previous respray used a different product family to the new one, the two coatings can react unpredictably, sometimes causing patchy sheen or an uneven finish even when adhesion itself is fine.
None of this means previously sprayed uPVC is a lost cause. It means the survey and adhesion test matter more than usual, and a company that skips straight to quoting without checking the existing coating is one to be wary of.

Signs your uPVC isn't suitable for a straightforward respray
Some previously sprayed surfaces are past the point where a standard respray, even with remediation, makes sense. Widespread bubbling or delamination across most of the frame, rather than a few isolated patches, usually means the original coating has failed comprehensively and needs a full strip rather than spot repair.
Structural issues are the other red flag. If frames have warped, twisted, or pulled away from brickwork, no amount of surface preparation fixes that, because the problem sits in the substrate, not the coating. Cracked uPVC, as opposed to cracked paint, is a similar dead end for spraying: hairline cracks in the plastic itself will show through any new finish and tend to worsen with UV and temperature cycling regardless of what goes on top.
Persistent condensation between glazing panes, failed seals letting in water, or gaskets that have perished all point towards glazing or frame replacement rather than cosmetic work. Spraying over these issues doesn't solve them; it just delays a more expensive fix and wastes the cost of the respray in the process.
If more than a third of a frame's surface shows failure, or if there's any doubt about structural soundness, a straight replacement conversation is usually more honest than pushing ahead with paint.
Environmental and safety considerations during respraying
Professional-grade uPVC coatings are chemically active products, and that means proper handling matters both for the people doing the work and anyone nearby. Reputable applicators use appropriate personal protective equipment, work in well-ventilated conditions, and mask off glass, brickwork, plants and paths to stop overspray drifting where it shouldn't.
Weather plays a bigger role than most homeowners expect. Spraying in high wind risks overspray landing on cars, windows, or neighbouring gardens, which is one reason reputable companies reschedule rather than push ahead in poor conditions. Temperature matters too: most specialist coatings need a minimum ambient temperature to cure correctly, so jobs booked for the depths of winter often get moved to protect the finish rather than the schedule.
Waste handling is worth asking about if you're environmentally conscious. Masking materials, old flaking paint removed during a full strip, and empty coating containers all need disposing of correctly rather than left for general waste. A company that's vague about how it manages this on site is usually vague about other things too.
What your resprayed uPVC will actually look like afterwards
A good respray gets close to a factory finish, but "close" is the honest word. Professional coatings applied with proper spray equipment give a smooth, even sheen across large frame runs that's difficult to tell from an original factory colour at normal viewing distance. That's the standard a specialist studio should be aiming for.
Where it can differ slightly from the original: texture. Factory-applied uPVC finishes are baked on during manufacturing under controlled conditions, giving a marginally different surface texture to a site-applied spray coating, even a very good one. Most homeowners never notice this once the job's done and the property's back to normal use, but it's worth knowing before you expect an identical match to a brand-new frame elsewhere on the house.
Colour depth can also shift slightly depending on the finish chosen, matt, satin or gloss, so it's worth viewing sample swatches in daylight against your actual brickwork rather than choosing purely from a colour chart indoors. And on previously sprayed frames specifically, any texture left behind by the old coating, however minor, can show through very subtly under close inspection, though a properly prepared surface minimises this considerably.
A studio owner's view on remediation and getting it right
Most of the callouts we deal with on previously sprayed uPVC aren't disasters, just jobs where the original prep was rushed. A quick adhesion test tells us within minutes whether we're looking at a straightforward respray or a strip-back first. Our hand-spray approach and five-year warranty exist because we'd rather get that judgement right than promise a shortcut. Ask any quote for the same detail: how they test adhesion, and what happens if they find a problem.
— Mitchell
Get a survey and a fixed quote from Refinishing Studio
Refinishing Studio is the alternative to a full uPVC replacement for homeowners across South Wales weighing up a tired or previously sprayed finish. Every job is hand-sprayed by the same people who quote and prepare it, no subcontractors, and backed by a five-year transferable warranty, so you're not gambling on a rattle can or an unverified trade paint.

Whether it's a full exterior respray, a single door, fascias and guttering, or a tired garage door, the process starts the same way: a survey to check the existing coating, a written quote broken down by prep, coatings and labour, and a fixed timescale before anyone picks up a spray gun. Colours cover the full RAL and BS range, plus custom shades, in matt, satin, eggshell or gloss.
If your windows, doors or frames have already been sprayed once and you're not sure whether they're worth saving, book a UPVC window spraying survey and get a straight answer before you commit to anything.
Sources
Cost and lifespan figures draw on Checkatrade's uPVC spraying cost guide; preparation standards from Promain's refinishing specification; coating comparisons from Rawlinspaints and Pentura.
- UPVC spraying: cost breakdown (Checkatrade)
- Architectural refinishing specification (Promain)
- How to professionally paint uPVC doors and windows (Rawlinspaints)
FAQ
How long does uPVC spraying typically last?
A professional respray using specialist weather-grade coatings typically lasts 10 to 15 years. Jobs done with non-specialist paint tend to hold up for around five years before needing attention.
How much does it cost to have uPVC windows resprayed?
Refinishing Studio's window spraying ranges from £80 to £2,200 depending on the number and size of windows involved. Whole-house exterior jobs more broadly tend to fall between £900 and £1,800, usually around a quarter of the cost of replacement.
What are the downsides of painting uPVC?
Done with the wrong products, painted uPVC can suffer patchy coverage, early peeling, and a finish that looks uneven across long frame runs. Aerosols and standard household paints generally lack the chemical bonding and UV resistance of professional two-pack systems, so results fall short of a proper respray.
Can I paint over uPVC?
Yes, uPVC can be painted or sprayed, but bare or previously coated surfaces need degreasing, abrasion and an adhesion primer first. Skipping proper preparation is the most common reason a new coating fails early, whether it's applied by brush or spray gun.