A properly done kitchen respray should give you a reasonable lifespan of several years before it needs a full refresh. The single biggest factor is preparation and the coating system used, not the colour or finish you choose. Everyday use, cleaning habits and how well the surface was prepped before spraying all affect how long it lasts, as the sections below explain in detail.
TL;DR:
- Laminate and melamine need a substrate specific bonding primer, while UPVC requires an adhesion promoter; standard wood primer can lead to peeling within months.
- Trade two pack coatings generally outlast single pack paints, but the finish needs full curing under suitable temperature and humidity before daily use.
- A professional respray typically lasts five to ten years; heavy daily use and minimal cleaning can bring a properly finished kitchen closer to five.
- Choose satin or semigloss for easier cleaning and fewer visible marks; full gloss reveals surface flaws, while matte shows fingerprints around handles.
- DIY suits small, low traffic areas if you can prepare carefully; full kitchens and laminate doors generally justify a professional, despite higher upfront cost.
Table of Contents
- What determines how long a respray will last
- Typical lifespan: evidence and what the numbers mean
- Materials and finishes that hold up best in kitchens
- Professional respray versus DIY: durability trade-offs
- How to care for a resprayed kitchen to maximise lifespan
- Refinishing Studio: evidence from real projects and warranty coverage
- The real driver of respray durability is often overlooked
- How to get a quote and next steps
- FAQ
- Sources
- Standards and technical datasheets
What determines how long a respray will last
The substrate under the paint matters more than most homeowners expect. Timber takes a respray well because it accepts primer and topcoat evenly, while laminate and melamine surfaces need a dedicated bonding primer or the new finish can peel within months. UPVC behaves differently again, requiring specific adhesion promoters rather than standard wood primers.
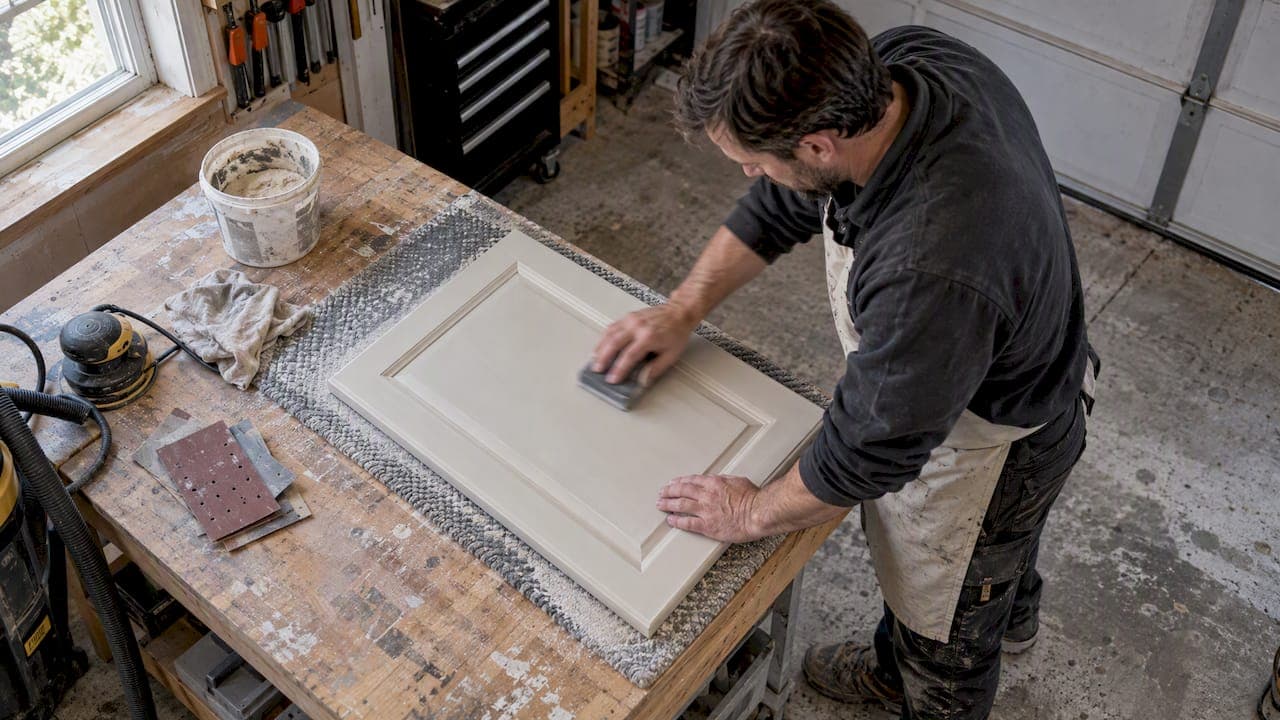
Preparation is where most of the lifespan gets decided before a drop of topcoat goes on. Degreasing removes the cooking residue that stops paint bonding, sanding gives the primer something to grip, and sealing exposed MDF edges prevents the swelling that cracks a finish from the inside out. Skipping any of these steps shortens the life of even an expensive topcoat.
Primer choice follows from the substrate: bonding primers suit laminate and melamine, while high-build primers fill minor imperfections and speed up coverage on timber doors. Topcoat selection then determines wear resistance, with trade two-pack (2K) systems generally outlasting single-pack paints because they cross-link into a harder film.
- Spray application lays down a thinner, more even film than brush or roller work, reducing the weak points where chipping starts.
- Full "through cure", not just surface touch-dry, is what gives a coating its final hardness and chemical resistance.
- Humidity and temperature during curing affect how well that hardness develops, which is why professional setups control drying conditions.
Pro Tip: Ask any installer how many coats they apply and what the recommended curing time is before the kitchen goes back into daily use.
Typical lifespan: evidence and what the numbers mean
Industry trade pages commonly cite a lifespan of several years for a correctly executed professional respray, with the variation explained by preparation quality, coating choice and usage intensity rather than luck. The low end tends to apply where prep was rushed or a budget single-pack paint was used; the high end applies to trade 2K systems applied to properly prepared surfaces.
BS 6222-3 sets out the test methods used to judge whether a kitchen surface finish holds up, covering wet and dry heat resistance, marking by household liquids, and mechanical damage. These are the same stresses a kitchen door faces daily from steam, spills and cutlery.

Manufacturer technical data sheets back this up at the product level. The Sayerlack TU61xx00 datasheet specifies recommended film thickness and drying intervals alongside resistance to domestic detergents and foodstuffs, the exact conditions a kitchen cabinet door is tested against. A heavily used family kitchen with teenagers, daily cooking and minimal wipe-downs will naturally sit closer to the five-year mark than a lightly used kitchen finished to the same technical standard.
Materials and finishes that hold up best in kitchens
Two-pack polyurethane and other high-solids trade topcoats are the standard choice for kitchen doors because they cross-link chemically rather than simply drying, producing a harder and more chemical-resistant film than household single-pack paint. The LUSTRE polyurethane 2-pack topcoat datasheet notes strong colour and gloss retention alongside practical drying and overcoating guidance that trade applicators follow to get a consistent film.
Sheen level affects both looks and practicality. Satin and semi-gloss finishes tend to balance everyday cleaning with resistance to showing marks, while full gloss highlights imperfections more readily and matt can show fingerprints faster around handles.
- Chemical-resistant or antibacterial topcoats add value around hobs, splashbacks and handle zones where grease and repeated wiping concentrate wear.
- Film thickness matters: too thin a coat wears through quickly, too thick can affect drying and durability.
- Recommended overcoating intervals and minimum application temperatures, as set out in product data sheets, directly affect how well a coating performs once it is in daily use.
Getting these technical details right is less about the brand of paint and more about whether the applicator follows the data sheet precisely.
Professional respray versus DIY: durability trade-offs
Professional setups bring several advantages that directly extend lifespan: trade-grade bonding primers suited to the actual substrate, 2K topcoats rather than retail paint, spray application for an even film, and controlled curing conditions, often backed by a written warranty.
DIY attempts commonly fall short in a few predictable ways:
- Inadequate degreasing leaves a film that stops primer bonding properly.
- Using a standard wall or wood primer on laminate instead of a bonding primer suited to that surface.
- Skipping denibbing between coats, which leaves a rougher, weaker final film.
- Using Scotch-Brite pads where fine-grit sandpaper is needed, since abrasive pads can leave a residue that compromises adhesion on certain 2K systems.
A DIY respray costs less upfront but a failed finish often means a full redo within a year or two, while a professional job priced correctly tends to be the better value over its full lifespan. If you are comfortable prepping thoroughly and working with the right trade products, DIY can suit a small, low-traffic area; anything covering a full kitchen, or involving laminate doors, usually justifies hiring a professional.
How to care for a resprayed kitchen to maximise lifespan
Daily care is simple: wipe surfaces with a soft cloth and a mild detergent, and avoid abrasive pads or strong solvents that dull or scratch the topcoat. Grease around hobs benefits from prompt cleaning rather than letting it build up and need harder scrubbing later.
- Keep hot pans and trays away from direct contact with painted surfaces to avoid heat marks.
- Treat spills, especially wine, oil or acidic foods, as soon as they happen rather than letting them sit.
- Use handles and knobs rather than pulling doors open by the painted edge, which reduces wear around high-contact points.
- Fix small chips or scuffs with a touch-up as soon as you notice them, since a quick repair is far cheaper than a full respray later.
Pro Tip: Keep a small pot of the matched touch-up paint from your project for exactly this kind of quick fix.
Refinishing Studio: evidence from real projects and warranty coverage
We specialise in hand-spray respraying for UPVC and kitchen surfaces, which means every kitchen project receives consistent trade-level attention. We back every kitchen respray with a warranty and have completed many projects, giving us insight into how different substrates and finishes hold up in real homes.
Because we do not use subcontractors, the people who quote your job are the same people who prep and spray it, helping keep the standard consistent. For more detail on what to expect, our kitchen respray timescale guide covers project length, our cost comparison against a full new kitchen sets out the financial trade-offs, and our cleaning guide walks through aftercare that protects the warranty.
The real driver of respray durability is often overlooked
Most advice on kitchen respray durability focuses on paint brand or colour, when the evidence points elsewhere: preparation and coating system choice decide most of the outcome before the first coat goes on. A beautiful satin finish from a premium topcoat will still fail early on a poorly degreased, unsanded laminate door.

The conventional advice to "just pick a durable paint" undersells how much technique matters. Two kitchens finished with the identical topcoat can land at opposite ends of the five to ten year range depending on whether the applicator degreased thoroughly, used the correct primer for the substrate, and let the coating cure fully rather than rushing the kitchen back into use.
If you take one thing from this, prioritise the applicator's process over the product name on the tin. Ask what primer they use on your specific surface, how many coats, and how long they allow for full cure before use. Those answers tell you more about your realistic lifespan than any marketing claim about the paint itself.
— Mitchell
How to get a quote and next steps
If you are weighing up a respray, the most useful thing you can do first is gather a few photos of your current cabinets, a rough door and drawer count, and an idea of the finish and colour you are drawn to. That gives us enough to work from for an accurate quote without needing an initial site visit.

Every kitchen project we take on comes with a personalised service, so the people who quote your job are the ones who deliver it. You can see full details and request pricing on our kitchen respraying page, and our timescale guide sets out what a typical project week looks like from start to finish.
FAQ
Is it okay to paint kitchen cabinets?
Yes, painting or respraying kitchen cabinets is a widely used way to update a kitchen without replacing it, provided the surface is properly prepared and the right primer and topcoat are used for the substrate. Laminate and melamine doors need a bonding primer specifically, while timber generally accepts standard trade primers more easily.
How much does it cost to respray a kitchen unit?
Pricing depends on door count, finish and condition of the existing cabinets, so it is quoted per project rather than at a fixed rate. You can get exact pricing for your kitchen through our kitchen respraying service page.
How long do kitchens usually last before needing attention?
A professionally resprayed kitchen typically lasts around five to ten years before needing a full refresh, depending on preparation quality, the coating system used and how heavily the kitchen is used day to day. Good aftercare, such as avoiding abrasive cleaning pads, helps keep a finish closer to the upper end of that range.
What colours make a kitchen look expensive?
Muted, deep tones such as navy, sage green and charcoal tend to read as higher-end, while classic off-whites and warm greys suit a timeless look that ages well visually. Sheen level also plays a part, with satin or semi-gloss finishes generally looking crisper and more considered than flat matt on cabinet doors.
What should I check before choosing a respray provider?
Ask for evidence that the coatings used are tested to recognised standards and request details of the warranty offered, since these indicate how durable the finish should be in practice. It is also worth confirming whether the same people quote, prepare and spray the job, which tends to produce a more consistent result.
Sources
- BS 6222-3: domestic kitchen equipment performance requirements
- Sayerlack TU61xx00 technical datasheet
- LUSTRE polyurethane 2-pack topcoat technical information (SML Paints)
Standards and technical datasheets
The durability claims in this article draw on BS 6222-3 testing criteria and manufacturer data sheets for trade coatings. Checking a provider's own test documentation and product data sheets is a reliable way to verify performance claims before committing to a project.