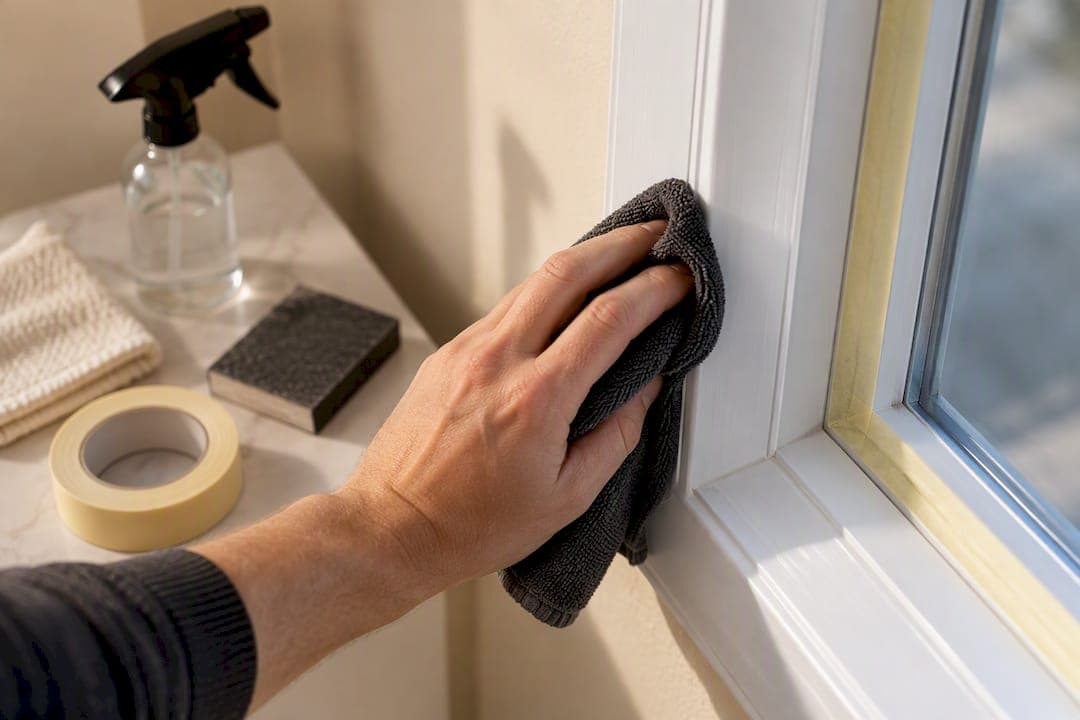
For a durable UPVC spray finish, remove old silicone, degrease thoroughly, lightly abrade the surface, repair any damage, mask carefully and apply an adhesion primer where needed. These steps decide whether the coating bonds properly or peels within a year. Homeowners can handle basic access and cleaning; silicone removal, degreasing and priming are best left to a specialist.
TL;DR:
- Proper UPVC spray preparation requires thorough silicone removal, degreasing, and priming to ensure long-lasting adhesion and prevent peeling within a year.
- Homeowners should clear access, move fragile objects, and confirm parking before the contractor handles silicone removal, degreasing, priming, and workshop finishing for doors.
- Failures often occur due to incomplete silicone removal, residual grease, incorrect or missing primer, poor masking, or spraying in unfavorable weather conditions.
- Correct preparation, including degreasing and applying the right primer, can extend the finish's durability to over ten years and is supported by a five-year warranty.
- Off-site workshop finishing typically yields a crisper, more durable result than onsite spraying, especially for doors, and should be considered during job planning.
Table of Contents
- What does proper upvc spraying preparation actually involve?
- What should homeowners do before the contractor arrives, and what will the pro handle?
- Which prep mistakes cause peeling, and how do you check for them?
- Why does correct preparation make a upvc respray last?
- Two things most guides don't tell you about upvc prep
- Book a UPVC respray with proper preparation built in
- Sources
- FAQ
What does proper upvc spraying preparation actually involve?
Every reliable respray follows roughly the same order, whether it is a single door or a full run of windows. Missing a step, or rushing one, is the single biggest reason a finish fails early rather than lasting for years.
- Inspect the surface. Check for old paint, flaking lacquer, cracked beading, and identify whether you're dealing with UPVC, aluminium, or a composite panel. Different substrates sometimes need different primers, so getting this wrong at the start throws off everything after it.
- Strip out old silicone and sealant. Silicone is one of the worst enemies of adhesion. Even a thin film left in a corner or drainage channel stops paint from bonding, so professionals dig it out with a plastic scraper or silicone remover rather than just wiping over it, and reapply fresh sealant only once the new coating has fully cured.
- Clean and degrease. UPVC picks up airborne grease, wax from cleaning products and general grime that a standard household spray will not shift. A dedicated UPVC cleaner followed by a solvent wipe removes this layer. Running a clean rag over the surface afterwards and checking it stays clean is a rough but effective way to confirm the panel is ready; drying time before the next step matters just as much as the clean itself.
- Abrade lightly. A Scotch-Brite pad or fine abrasive pad scuffs the surface just enough to give the coating something to grip. Sandpaper works too, but it's easy to overdo it and score the plastic, so a light, even scuff across the whole panel is the target rather than heavy pressure in patches.
- Fill and repair. Chips, scratches and small dents get filled with a flexible filler suited to plastic substrates, then left to cure fully before sanding smooth. Skipping the cure time here is a common shortcut that shows up as a dip or crack in the finish months later.
- Mask thoroughly. Glass, brickwork, gutters, nearby plants and door hardware all need protecting. Low-tack tape and masking film prevent overspray bleeding onto surfaces that were never meant to be painted.
- Prime where required. An adhesion primer is used where the substrate or coating system calls for one; not every job needs it, but skipping it when it's specified is a fast route to peeling. Specialist UPVC coating systems are formulated to cross-bond with plastic, and their adhesion guarantees only hold when the surface has been cleaned, abraded and primed exactly as instructed.
- Dust off and inspect again. A final tack-rag pass lifts any dust nibs before the first coat goes on, and manufacturer guidance recommends a dust coat before full coats to catch particulate contamination early rather than after it's baked into the finish.
Pro Tip: Run your finger along a drainage channel or beading edge before you assume the silicone is gone. It hides in the grooves long after the flat surfaces look clean, and that's exactly where finishes start to peel first.
What should homeowners do before the contractor arrives, and what will the pro handle?
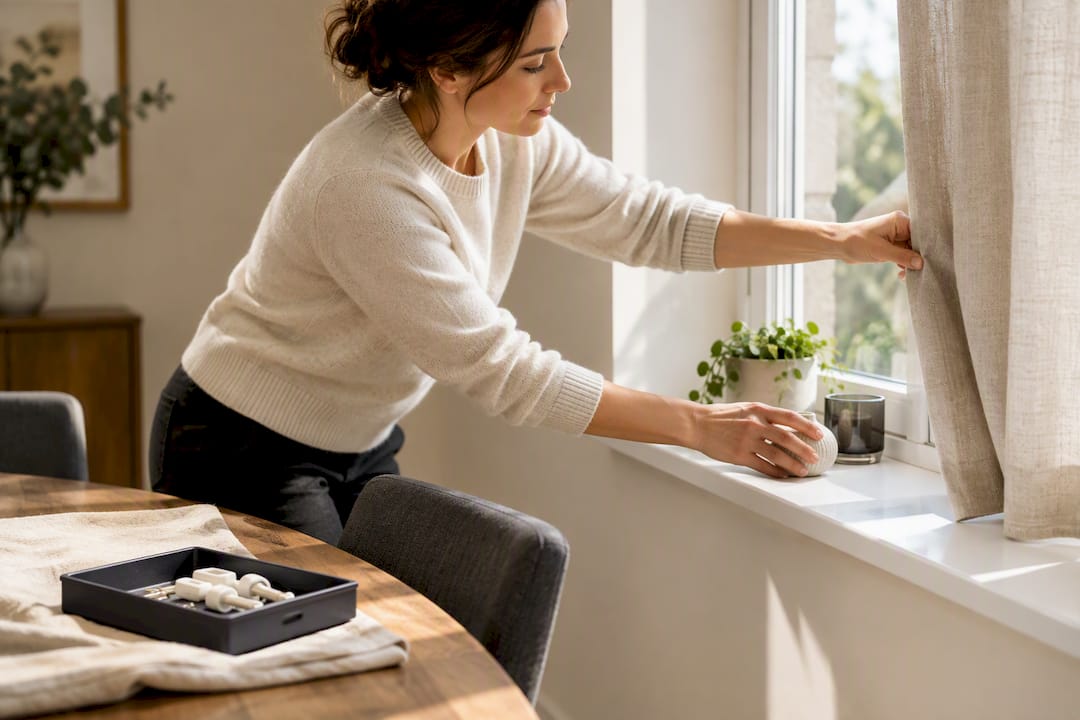
Splitting the job properly saves time on the day and avoids paying for prep that was never needed. Most of the heavy lifting sits with the specialist, but a few simple tasks on your end make the job run smoother.
Before the team arrives, you should:
- Clear access to windows, doors and any exterior areas being sprayed.
- Move breakables, plant pots and outdoor furniture away from the working area.
- Keep pets away from the property during the job and for a few hours after.
- Confirm parking and space for equipment, particularly for a full exterior respray.
The contractor typically handles:
- Complete silicone and sealant removal, including awkward channels and joints.
- Specialist degreasing using solvents suited to UPVC rather than household cleaners.
- Primer application matched to the substrate and coating system.
- Off-site workshop finishing for doors, when that option is offered.
Doors finished off-site in a workshop often come back with a noticeably crisper result. Dust and weather can't interfere, and the door cures under controlled conditions rather than hanging half-finished on its hinges. It's worth asking any contractor whether that's an option for your door before the job is booked. It's also fair to ask what PPE and dust extraction they use on-site, particularly if you have young children or pets at home during the work.
Which prep mistakes cause peeling, and how do you check for them?
Most failed respray jobs trace back to the same handful of shortcuts. A quick check before spraying starts catches nearly all of them.
- Skipped or partial silicone removal, usually hiding in corners and drainage grooves rather than flat panels.
- Grease left behind, checked with a clean rag rubbed over the surface; any residue transferring onto the cloth means it isn't ready.
- Wrong or missing primer, often visible later as patchy sheen or early flaking around edges.
- Loose or gappy masking tape, letting overspray creep onto glass, brickwork or hardware.
- Spraying in poor weather, since temperature, humidity and wind all affect how the coating flashes off and cures.
Preparation failures, particularly inadequate degreasing, are described by professional resprayers as the number one cause of jobs failing within a few years rather than lasting. Before spraying begins, walk the surface with the contractor, run the rag test yourself, and check the masking is sealed at every edge rather than just at the corners.
Why does correct preparation make a upvc respray last?
Trade guidance is consistent on this point: degreasing, the right primer and controlled application conditions are what separate a finish that lasts a decade from one that fails within two years.
A multi-stage process, door removal, degreasing, sanding, filling, priming and inspection, is what determines whether a coating holds up long term or starts lifting within months of the job finishing.
That's why Refinishing Studio's hand-spray process treats preparation as a distinct phase rather than a quick step before the fun part. A five-year warranty supports the quality of preparation done for every job. If you're vetting a contractor for your own job, ask them directly: what primer do they use and why, how do they remove silicone, and what does their warranty actually cover if the finish fails early?
Two things most guides don't tell you about upvc prep
Watch the weather window, not just the forecast for spray day. Humidity swings the night before affect how well degreased surfaces stay clean. And where doors can come off, off-site workshop finishing beats on-site spraying nearly every time. Ask for an inspection before you commit to a quote.
— Mitchell
Book a UPVC respray with proper preparation built in
Refinishing Studio is the alternative to a full replacement for tired UPVC in South Wales: instead of ripping out windows, doors or fascias, our hand-spray process strips silicone, degreases, primes and finishes to factory standard, backed by a five-year transferable warranty.

Every quoted job includes a home survey, full surface preparation, the correct adhesion primer, the sprayed finish itself, and reapplication of sealant once the coating has cured properly. There are no subcontractors and no production-line shortcuts, just the same team that quotes the job carrying it through to completion. If your windows or doors are due a refresh, get a quote for UPVC window spraying or ask about the off-site door spraying service if you want that workshop-standard finish on your front door.
Sources
For deeper technical detail on adhesion systems and application notes, see Rawlins Paints' professional guide and Ultimate Décor's breakdown of kitchen respray stages. For general exterior masking technique, TruPainting's preparation guide is a useful reference.
FAQ
Can I spray my own UPVC windows?
Yes, but the result depends entirely on preparation, not the paint you buy. Without proper silicone removal, degreasing and the correct primer, a DIY finish is likely to peel within a year or two, which is why most homeowners hand this stage to a specialist.
Do I need to prime plastic before spray painting?
An adhesion primer is required for most UPVC coating systems, though not every product on the market needs one. Specialist coating systems are formulated to bond with plastic, and skipping the primer when it's specified is one of the fastest routes to flaking.
Should you sand UPVC before painting?
Light abrasion with a fine pad or Scotch-Brite creates a mechanical key the paint can grip, and most professional processes include this step. Heavy sanding isn't necessary and can score the plastic, so a light, even scuff is what matters.
How should I prepare plastic for spray paint?
Remove any old silicone completely, clean and degrease the surface, lightly abrade it, fill any damage, and mask surrounding areas before priming and spraying. This sequence, confirmed by trade guidance on UPVC preparation, applies whether you're prepping a single door panel or a full run of windows.
How much does professional UPVC spraying cost?
Pricing depends on the job. UPVC window spraying runs from £80 to £2200 per project, while door spraying is typically £250 to £650, both quoted after a home survey.