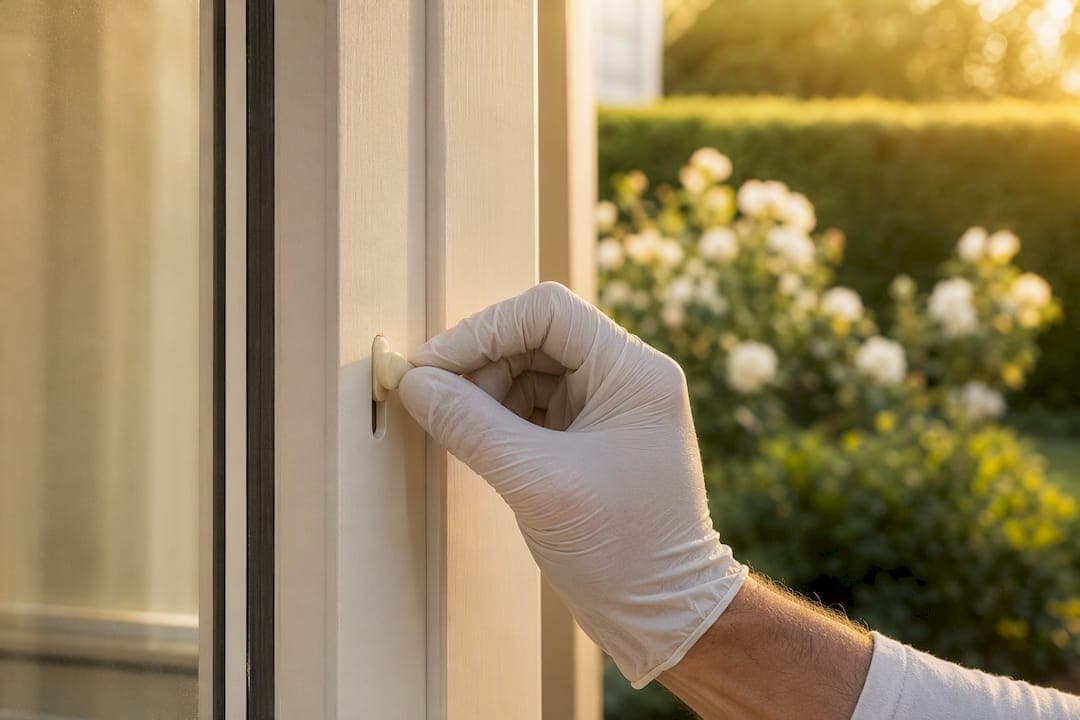
A competent professional respray leaves trickle vents fully functional. Vents get masked before spraying, inspected once the masking comes off, and re-sealed with fresh silicone as the final step. Reputable operators like Refinishing Studio build this into every job, backed by a warranty and numerous completed projects.
TL;DR:
- Proper masking of trickle vents with dedicated tape or plugs is essential because rushed masking often causes blockages and defects.
- Using the correct spray tip size and maintaining a safe distance of 8 to 10 inches helps prevent overspray and keeps vents clear during application.
- Re-siliconizing frames after spraying is standard practice to prevent water ingress and ensure long-lasting vent function, with warranties often covering re-inspection.
- A high-quality respray typically involves thorough surface prep, staged coating, and professional inspection, usually completed within one to two days for most houses.
- Asking detailed questions about vent masking, silicone removal, coating procedures, and warranties is crucial to avoid poor workmanship and ensure vent functionality.
Table of Contents
- How spraying around trickle vents works during preparation
- What spray technique keeps vents clear near frames?
- How do vents stay unblocked once the job is finished?
- What does a professional respray look like from start to finish?
- How much does spraying around trickle vents cost, and when does it not make sense?
- What should you ask before booking a contractor?
- How Refinishing Studio handles vents on every project
- A closing note on getting it right
- Sources
How spraying around trickle vents works during preparation
Preparation decides whether a respray lasts five years or fails within twelve months. Before a spray gun ever comes near a frame, professionals strip away every trace of old silicone. Silicone is a contamination point: coatings simply won't bond to it, and any residue left behind creates a weak spot that peels within weeks, as detailed in this uPVC window respray before and after guide.
Once the silicone's gone, the real preparation begins:
- Deep clean every surface to remove grease, algae and chalking from years of weathering
- Lightly abrade (scotch) the UPVC to key the surface so the coating grips properly
- Apply an adhesion primer on stubborn or heavily weathered profiles
- Mask glass, brickwork, soffits and vents with appropriate tape and film for each surface
- Check the forecast and confirm frames are completely dry before starting
Most teams spray windows and doors in situ rather than removing them, which keeps disruption low and avoids the risk of re-fitting issues. Masking for trickle vents specifically matters here, and preparation standards from SprayedTech Solutions confirm that meticulous masking of vents and adjacent fabric is treated as a non-negotiable step, not an afterthought.
Pro Tip: Ask your contractor whether they mask vents individually or rely on general sheeting. Individual masking (a plug or dedicated tape) protects the vent mechanism far better than a blanket dust sheet draped over the whole frame.
What spray technique keeps vents clear near frames?
Tip size is the first decision that affects vent safety. A narrow tip suits window frames and glazing bars where overspray near a vent grille would be obvious and hard to fix. Wider doors and flat panel sections take a broader tip, because the goal there is even coverage across a larger area, not precision around small openings.
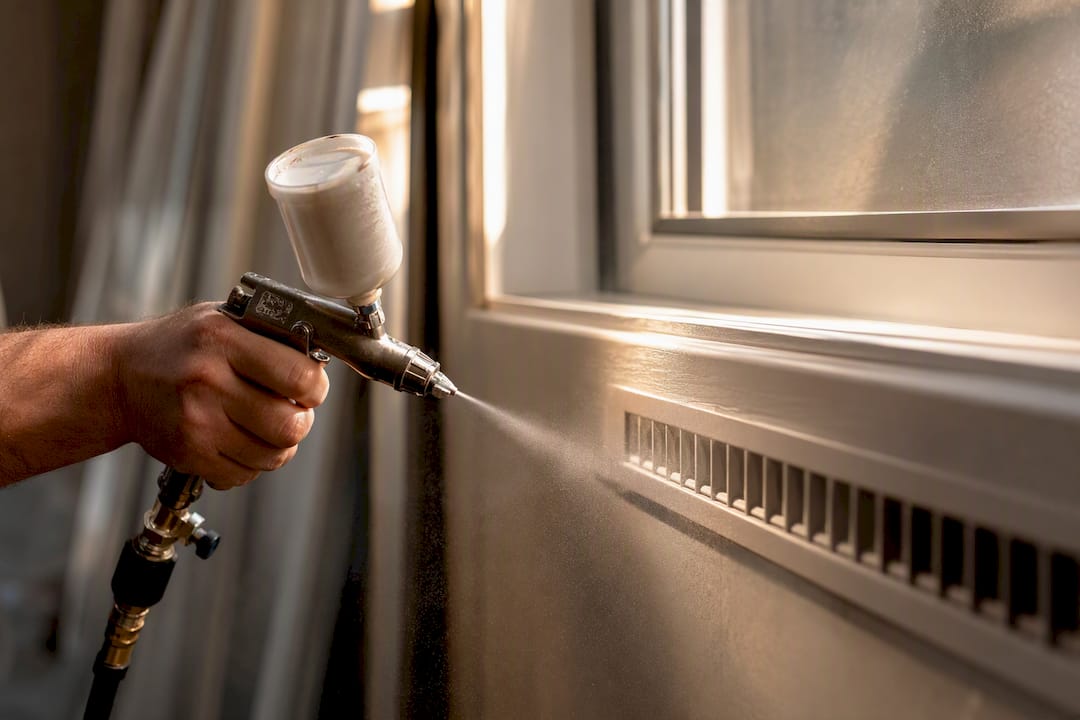
Distance and pass technique matter just as much. The Tritech Industries spraying guide recommends holding the gun roughly 8 to 10 inches from the surface, running steady passes with around 50 percent overlap, and always running a test spray on scrap material or an inconspicuous area first to check the pattern before touching the actual frame.
The sequence a professional follows typically looks like this:
- Spray hidden lips and rebates first, where any early mistakes stay out of sight
- Apply a light dust coat across the whole section to establish an even base
- Allow proper flash time before the next coat, so solvents evaporate rather than trap moisture
- Build up two or three coats gradually rather than one heavy application
- Check film thickness and finish quality against factory-standard expectations before moving on
Skipping prep, using the wrong tip, or spraying too close to the surface are the most common causes of coating failure, according to Tritech's guide to airless spraying. Near a vent, spraying too close is particularly risky. It thickens the coating unevenly right where airflow needs to stay clear, and rushed masking around the grille is usually how blockages happen in the first place.
How do vents stay unblocked once the job is finished?
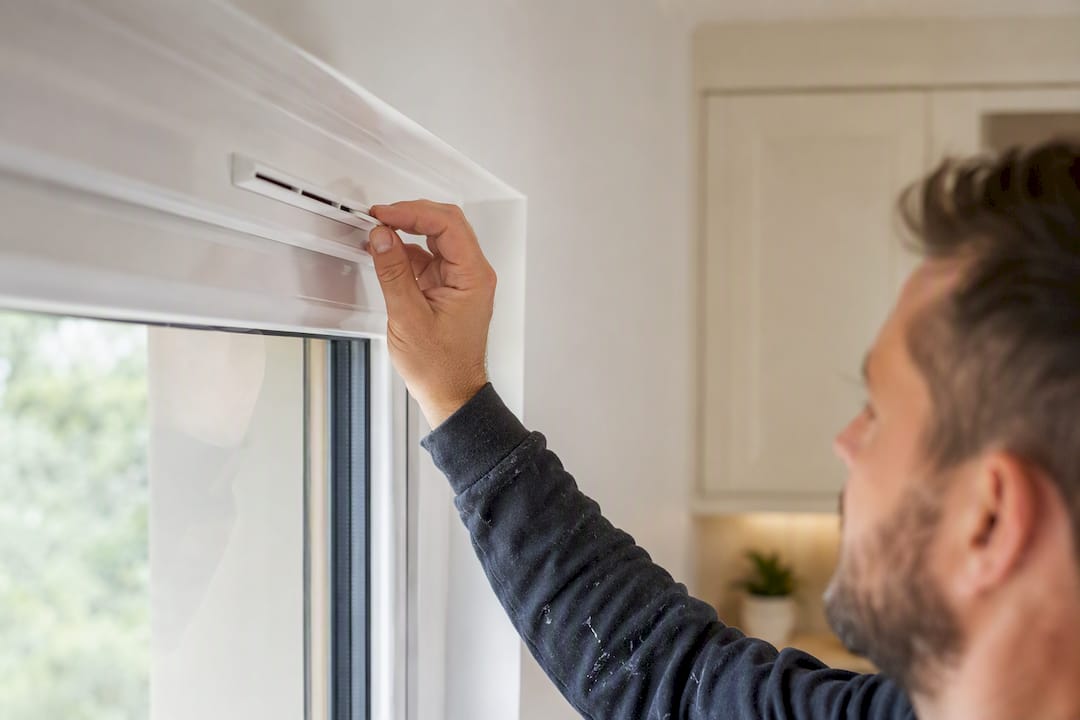
Masking around a trickle vent isn't the same as masking a pane of glass. Professionals use sacrificial plugs or narrow strips of protective tape that seal the vent opening precisely without leaving adhesive residue behind on removal.
Once every coat has cured and the masking comes off, a proper job includes:
- A visual inspection of the vent passage to confirm no paint has bridged the slats
- A simple airflow check, often just holding a hand or a lit match-free indicator near the opening
- Re-siliconing the frame, usually colour-matched to the new finish
- A final walk-round to compare the result against the agreed scope before sign-off
Re-siliconing matters more than it sounds. Because silicone has to come off before spraying, skipping the re-application step leaves a gap that lets water track behind the frame. Reputable resprayers treat it as standard, not an optional extra, per the Aerosols R Us respray process.
Pro Tip: If you notice a vent feels stiffer than before after a respray, ask the contractor to come back and check it. A five-year warranty should cover a follow-up inspection at no extra cost.
What does a professional respray look like from start to finish?
A proper job starts with a survey, not a quote pulled from a phone call. A written scope should note every window, door and vent on the property, along with any access issues before a spray gun comes out.
Timings vary with the size of the job. According to WeSpray's guide to window spraying, teams working in situ with careful masking often complete a typical house within one to two days, weather permitting. Larger properties or full exterior packages naturally take longer.
Expect these markers of a properly run job:
- Photographic evidence taken during masking, spraying and after re-siliconing
- A written guarantee, ideally five years, covering both the coating and adhesion
- A single team handling the whole job rather than subcontracted labour changing hands mid-project
- A final walkthrough where you can inspect vents and finish together before paying
Refinishing Studio runs its jobs this way across South Wales, with the same crew on site from survey to handover on every one of its UPVC spraying projects.
How much does spraying around trickle vents cost, and when does it not make sense?
Cost depends on scope, not just square footage. Per-window pricing commonly falls in the £50 to £150 range, while whole-house packages for an average semi typically run into the low thousands, a fraction of the cost of full replacement for the same frames.
A one or two day turnaround is realistic for most houses, though rain or high humidity pushes the schedule back, so it pays to know how to winterize your doors beforehand. No contractor worth hiring will spray in poor conditions just to hit a deadline.
Spraying isn't always the right answer, though:
- Failed double glazing seals (visible as misting between panes) need unit replacement, not a respray
- Structural damage, warping or rot in the frame calls for replacement, not paint
- Frames already sprayed multiple times with a poor base coat may need stripping back first
Where the frame itself is sound, spraying wins on nearly every practical measure. It is significantly less expensive than replacement, generates less waste, and keeps your home usable during the work rather than leaving gaps where old frames used to sit.
What should you ask before booking a contractor?
Trust signals are easy to check if you know what to look for. A genuine portfolio should include close-up before-and-after shots that show vents and trims, not just wide-angle photos of a finished frame from ten feet away. Ask how many completed projects the company can point to. A track record running into the hundreds or thousands, like Refinishing Studio's, tells you far more than a slick website.
Ask these questions directly before signing anything:
- How will you mask the trickle vents specifically, and will you remove that masking carefully?
- Will silicone be fully removed before spraying and re-applied afterwards, colour-matched to the finish?
- What coating system and tip sizes do you use on narrow frames versus doors?
- How do you control overspray near glass, brickwork and vents?
- Is there a written warranty, and does it cover vent function as well as the paint finish?
Watch for vague quotes that don't mention preparation at all, contractors reluctant to show vent-level detail in their portfolio, or pricing that seems too low for a multi-coat job. Compare quotes on scope, not just the final number. A detailed cost breakdown should show what's actually included.
Pro Tip: A contractor who can't explain their masking process for vents in one clear sentence probably hasn't thought about it properly. Push for specifics, not reassurance.
How Refinishing Studio handles vents on every project
Refinishing Studio applies every coat by hand rather than relying purely on automated setups, which gives far more control around fiddly details like trickle vents than a rushed spray-and-go approach. Every job comes with a five-year warranty, and the team has completed more than 1,000 UPVC and kitchen respray projects across South Wales without a single subcontractor on site.

The process around vents follows the same sequence every time: silicone stripped back fully, vents masked individually with dedicated tape rather than general sheeting, coats built up in stages, and silicone re-applied and colour-matched once the finish has cured. Nothing gets improvised on the day.
If your frames or kitchen cabinetry are looking tired but structurally sound, a full replacement is rarely the most sensible fix. Book a survey through the UPVC spraying page and get a written scope that names every vent on your property before any work starts. For kitchen surfaces where vents run through window surrounds nearby, the kitchen respraying service follows the same careful masking standard.
A closing note on getting it right
Most vent problems after a respray trace back to one thing: rushed masking. Anyone can spray a flat panel evenly. Doing it around a grille with dozens of narrow slats, without bridging a single one with paint, separates a careful operator from someone working too fast to hit a daily quota.
The projects that go wrong tend to share a pattern: no test spray, generic dust sheeting instead of vent-specific masking, and silicone skipped on the way back together. None of that is complicated to avoid. It just takes a contractor willing to slow down at the one part of the job most people never think to check.
If you're weighing up a respray, ask to see close-up photos of vents from a previous job before you ask about colour options. Book a survey and get the detail in writing.
— Mitchell
Sources
- UPVC airless paint spraying guide (Tritech Industries)
- uPVC window respray before and after (Aerosols R Us)
- What preparation is needed before uPVC window spraying? (SprayedTech Solutions)
- uPVC spraying vs window replacement cost (ColourHaus)
- Our guide to window spraying (WeSpray)